My worm farm was reaching the end of its life, and I was looking to buy a new one when I first saw the urban worm bag. The continuous flow-through design wasn’t like anything I’d seen before. It promised to eliminate the need to separate my worms from their castings. This sounded great to me, so I decided to try it out and share my experience.
One of the biggest selling points of the urban worm bag is the customer service you receive. Steve, the founder of the company, is passionate about vermicomposting and works hard to make sure that every single one of his customers is happy. Any questions I had were answered quickly and fully.
I’m reviewing version 2 of the urban worm bag. Version 2 offers lots of improvements compared to the first version. Many of the upgrades, such as the zip protection features (more on that later), were made based on customer feedback and have really improved the user experience.
What’s included?
The bag comes tightly packed in a long thin cardboard box.
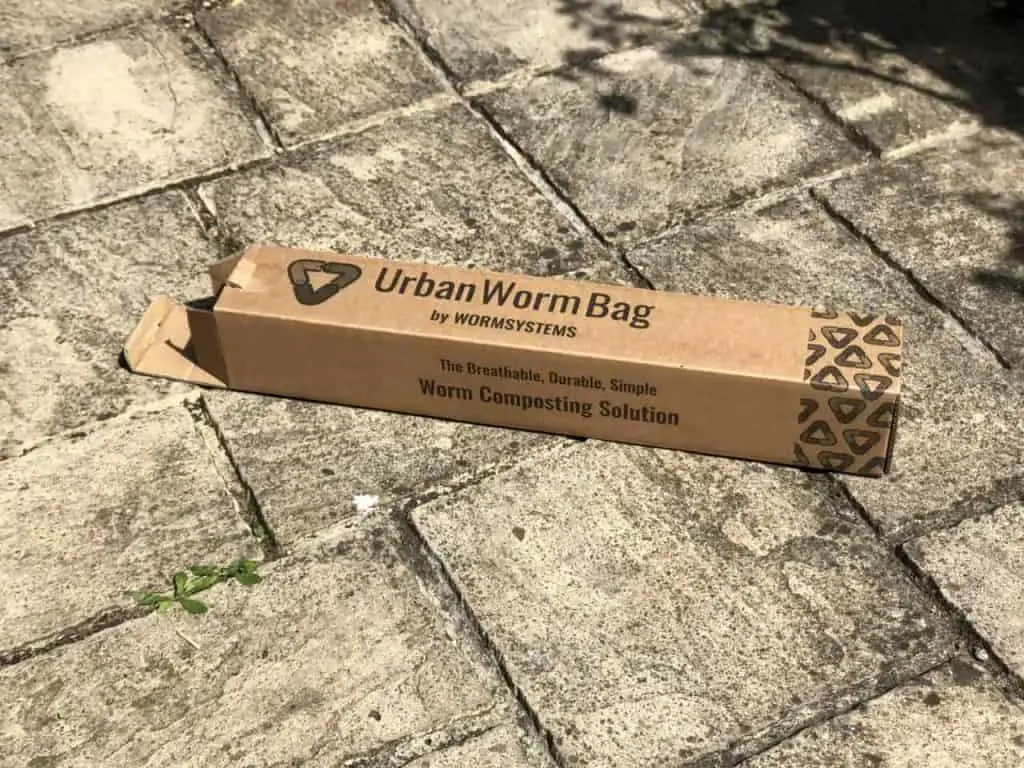
The packaging is kept to a minimum with no unnecessary padding. I really like this because it reduces waste. I actually ended up using the cardboard box as bedding in my worm bag. Cardboard is one of the worms favourite foods!
Looking for a shredder that can deal with cardboard? I use the Amazon basics 12 sheet shredder and it works a treat.
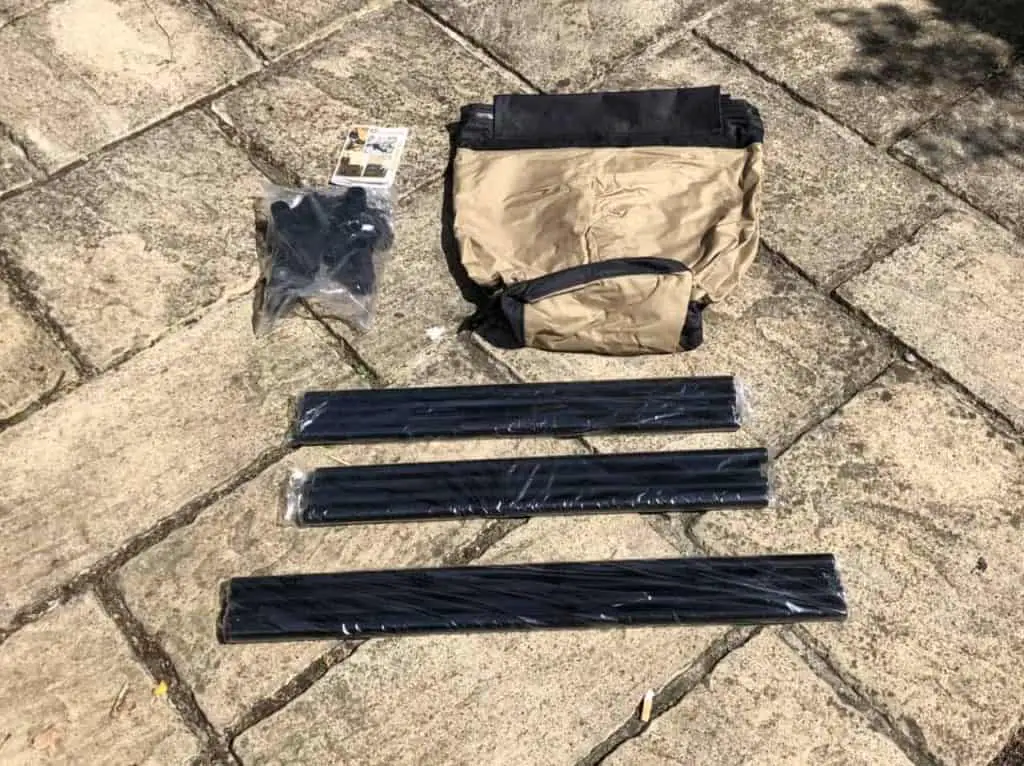
Included in the box is:
- The worm bag
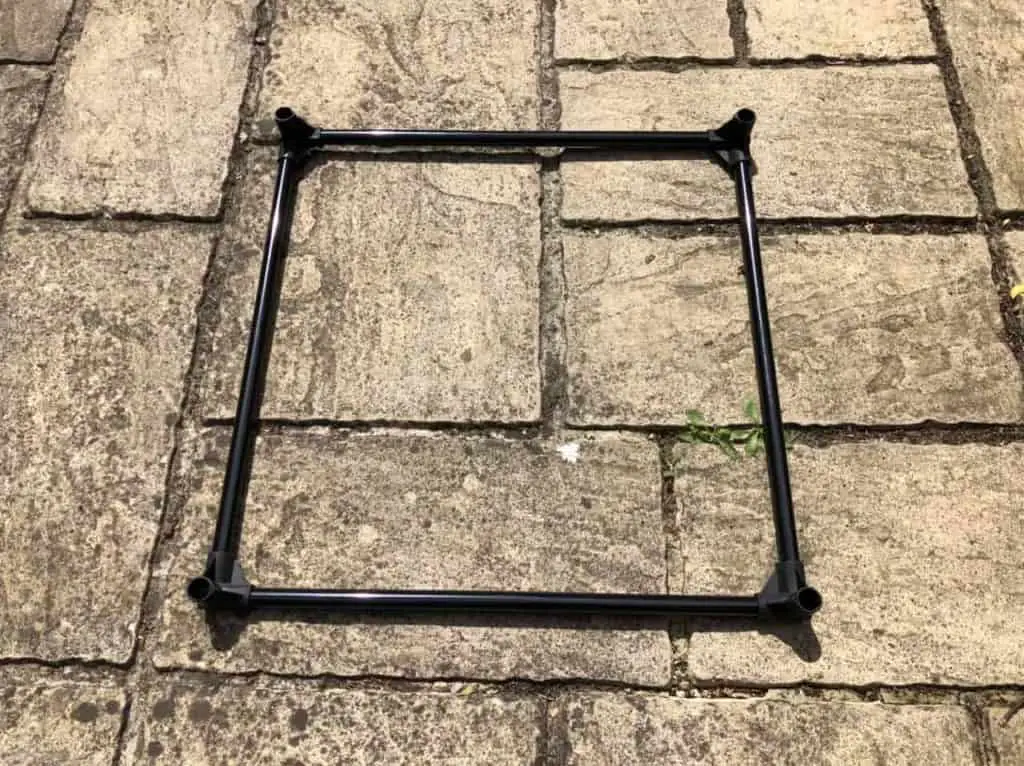
- 12 poles for creating the frame
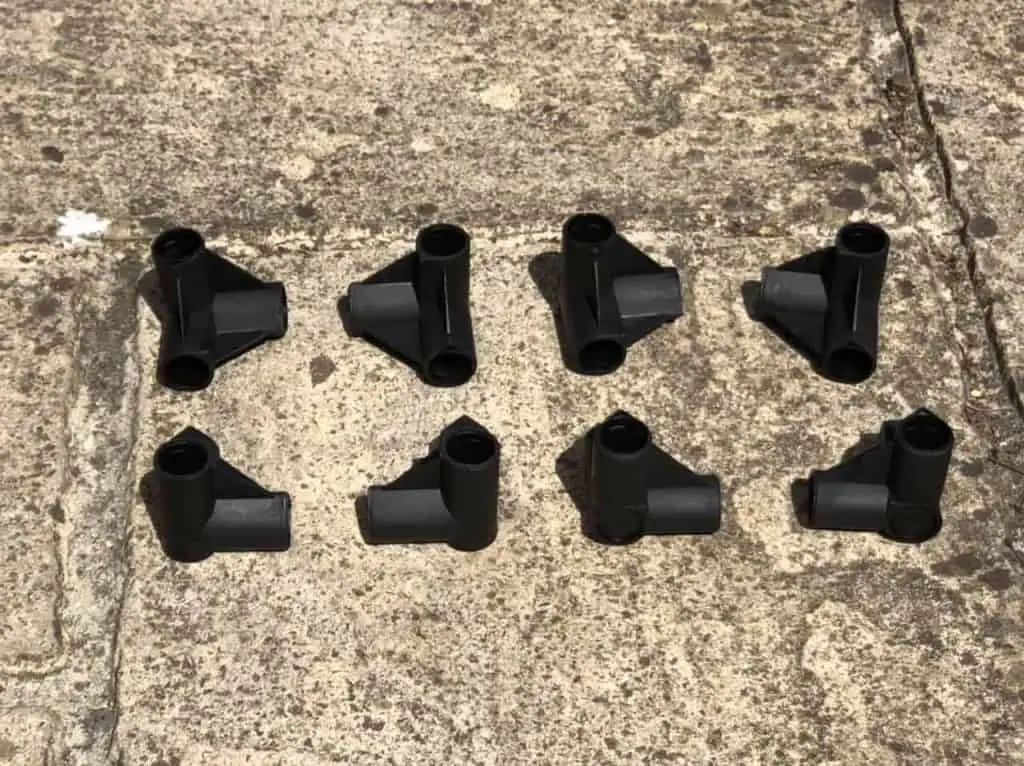
- 4 three-prong connectors
- An instruction manual
The manual comes in three different languages and contains all the information you need to get started.
Setting up
Setting up the bin was incredibly easy and didn’t require any tools. It took me around 5 minutes, and I only glanced briefly at the instructions. Everything was very self-explanatory.
The metal poles fitted comfortably into the connectors, but I did need to use a bit of elbow grease to make sure they were secure. If you don’t push the poles all the way in, you risk them popping out later down the line.
Once built, the frame felt sturdy and didn’t shake or wobble. The plastic connectors are reinforced at the corners which helps the frame hold its shape.
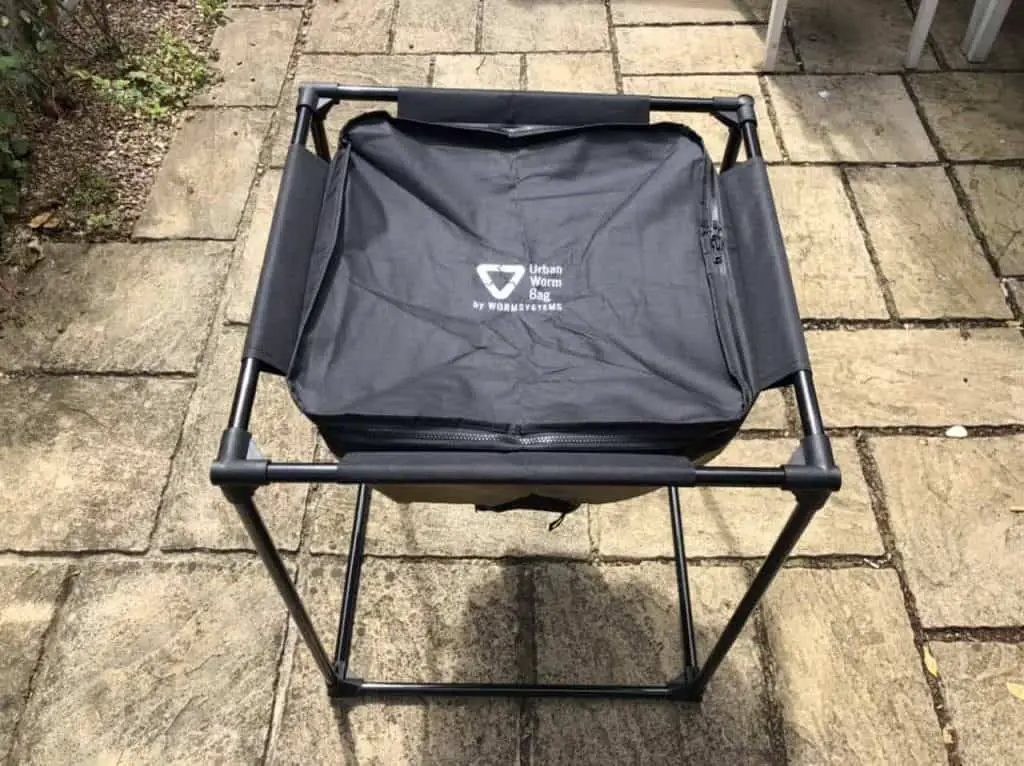
The bag came in one piece, so just needed to be hung on the frame. The long loops mean the weight is evenly distributed along the poles and I didn’t see any bending even when the bag was full.
Verdict: very easy to assemble, no tools required
Size and placement
The assembled worm bag is lightweight and easy to move. However, once I started filling the bin up, it became harder to move because there are no wheels on the frame. It can be done but requires two people to stop the bag swinging around everywhere.
The instruction manual makes it very clear that you need to place the bag on a flat surface. If the surface isn’t flat then once the bin is full, gravity will take effect and can cause the frame to warp.
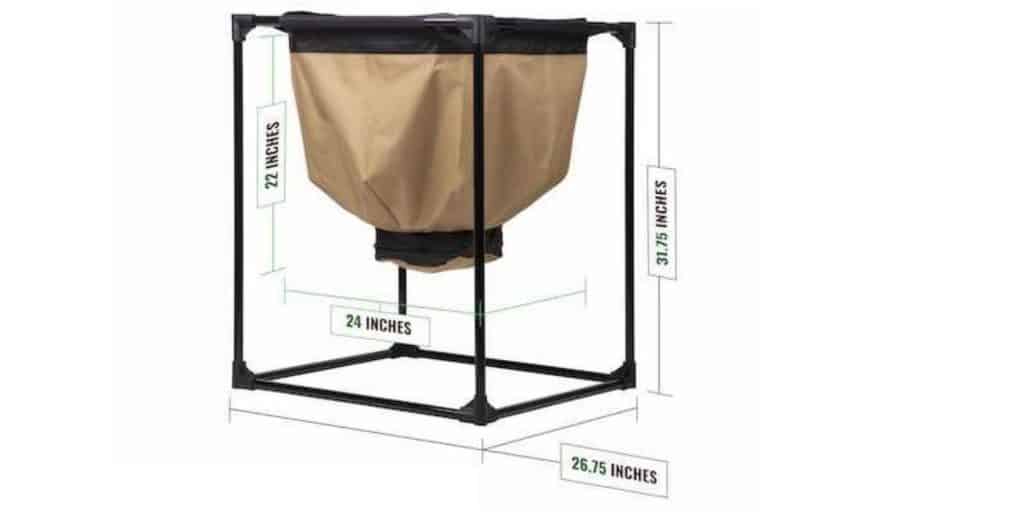
You can keep the bin inside or outside, but the instruction manual advises placing the bag inside to protect it from extreme temperatures and weather. If you really want to put it outside, then it needs to be in a sheltered spot away from direct sunlight.
I chose to place my worm bag in my shed because I don’t have a sheltered area in my back garden, and I’m not convinced the bin could stand up to the amount of rain we get in England! In the winter, I plan on insulting it with some old carpet.
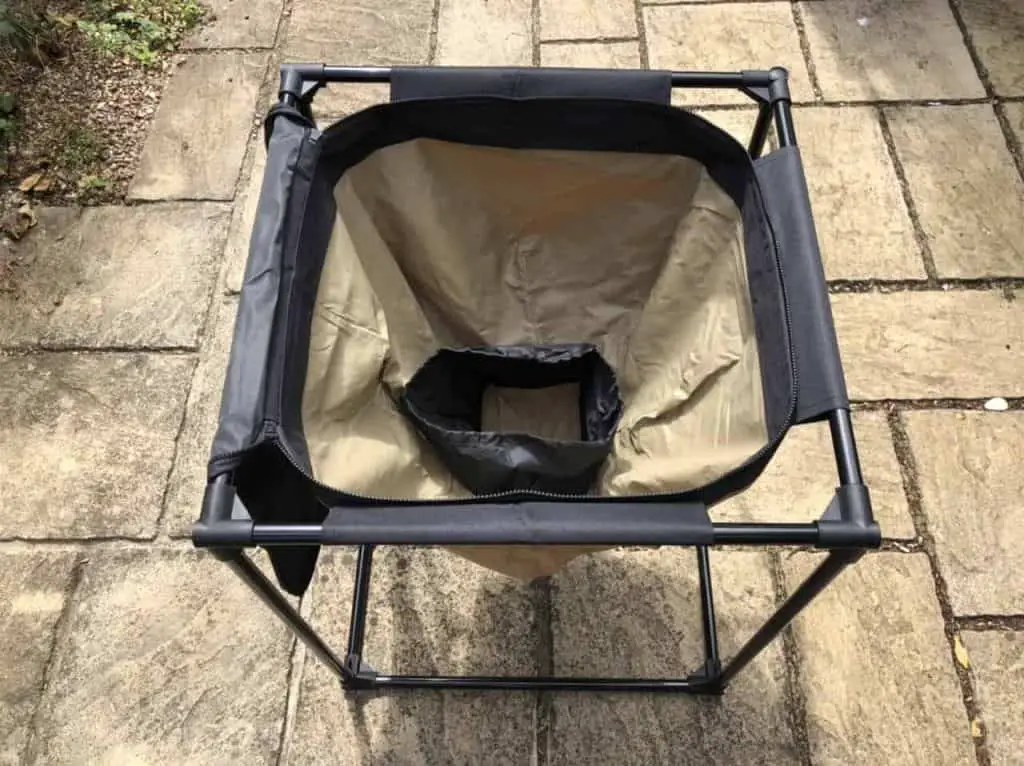
The bag is deceptively big and I was impressed with the capacity vs the footprint. The bag’s about as deep as my arm and is well able to cope with my personal needs as a household of two.
If your family is on the larger side and you generate a lot of waste, then it might be worth getting two.
Verdict: a good balance between capacity and footprint
Using the bin
Now for the most exciting part, what I think about the usability of the urban worm bag.
Materials
When I saw the worm bag online, my first thought was how can a bag be strong enough to hold a full load of food, bedding, and castings? The last thing I would want is the bag to rip, and all my worms fall out.
But upon arrival, my fears were squashed. The bag’s material (900D Oxford fabric) feels robust, durable and rip-resistant.
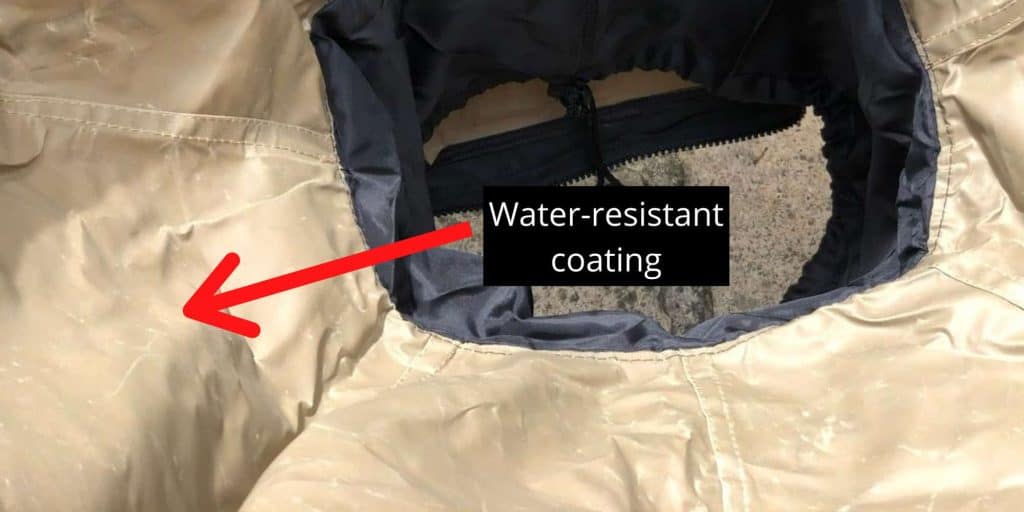
It’s made from a breathable canvas material and has a water-resistant coating on the inside. It’s not fully waterproof but does an excellent job of keeping moisture within the bin.
A downside to the canvas material is that it stains quite easily. My bin got a bit too wet at one point and the moisture soaked into the canvas leaving a watermark. This didn’t affect how the bin functioned, only the aesthetics of the bin.
Verdict: strong and breatheable but can stain
Leachate collection
Most worm farms encourage users to run their systems too wet by providing them with a way to collect leachate, or what they call worm tea. But don’t be fooled, this isn’t worm tea!
Worm tea is made by steeping the castings in water for a day or two – check out our worm tea recipe for more information.
The urban worm bag doesn’t come with a way to collect leachate. According to the instruction manual, if your worm bag is functioning well then it shouldn’t produce excess moisture. There shouldn’t be anything to collect.
During the first few months, my worm bag was a little wet because I was overfeeding my worms. To dry it out, I opened the zips slightly at the top and the bottom. I also placed a bowl under the bin to collect the liquid that was seeping out, so it didn’t drain on the floor.
The bin dried out quickly, and I was more careful with how much I was feeding the worms after that!
Verdict: no leachate collection, but bin shouldn’t produce leachate
Filling the bin up
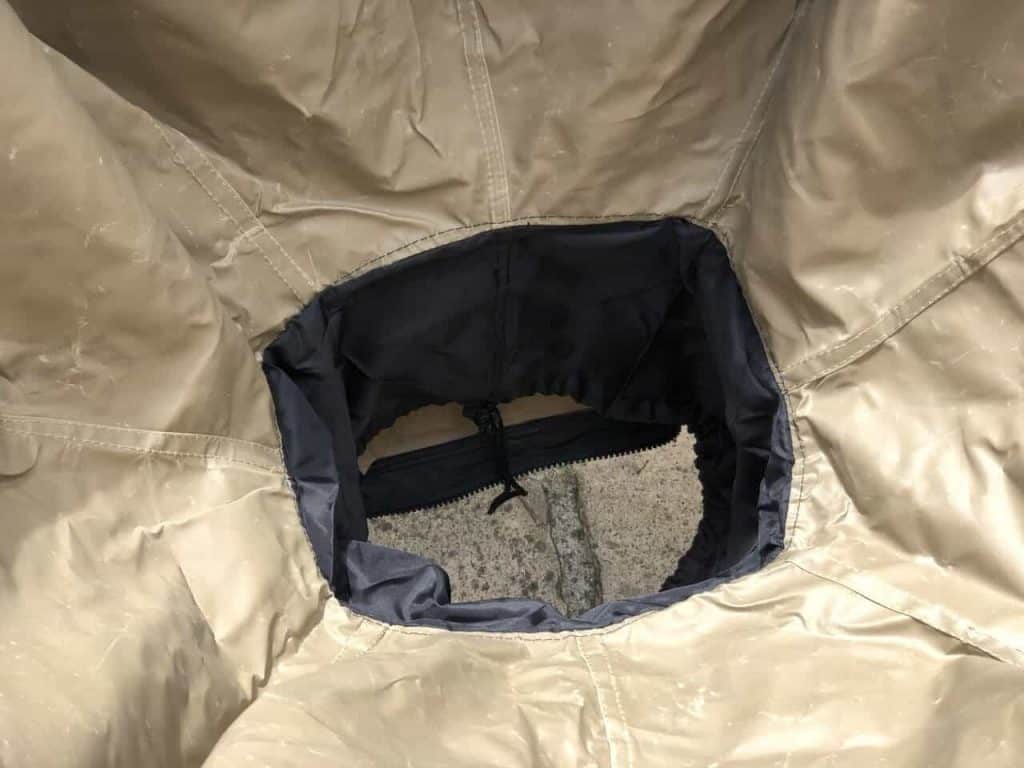
To fill the bin up all you have to do is open the zippers at the top and throw your food in. It’s so simple there’s not much else to say!
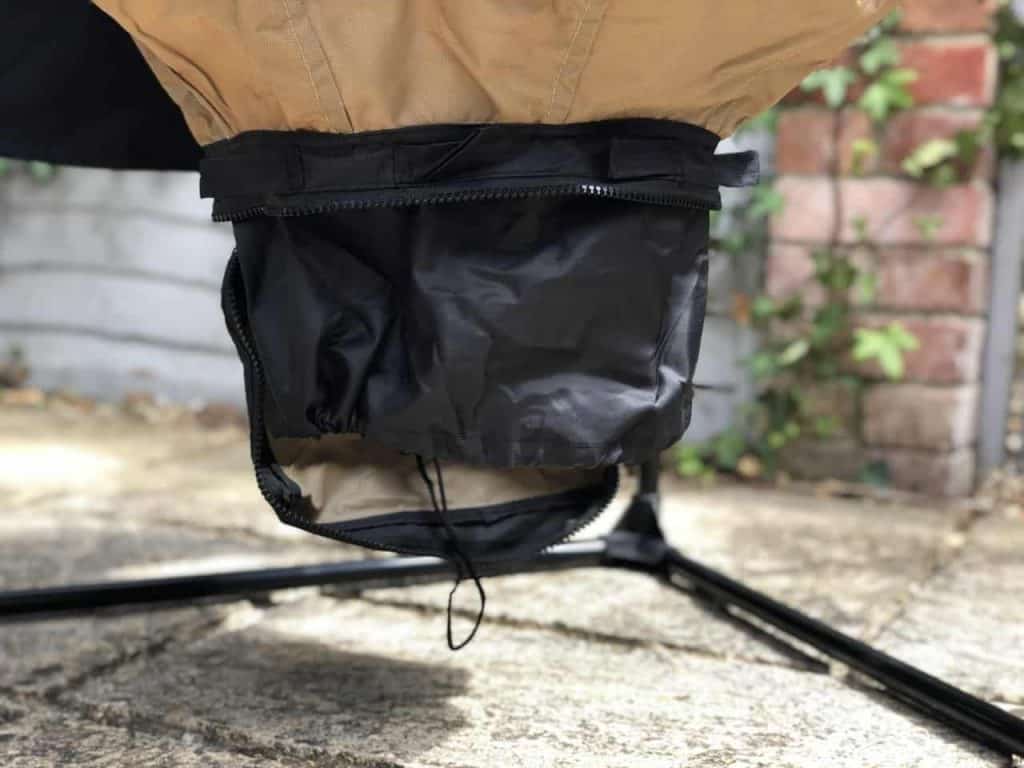
There is a tiny opening at the bottom of the bin where the drawstring doesn’t close completely.
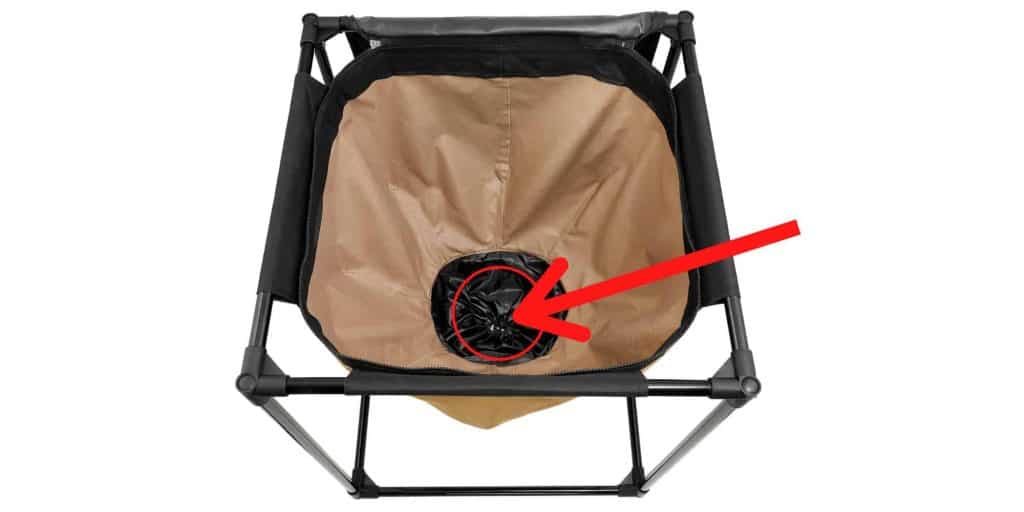
The hole is so small my finger doesn’t fit through it. But to stop any castings or worms falling out into the zipper compartment, I covered the hole with some newspaper before I put anything in the bin.
There’s also a tiny gap between the two zippers at the top of the bin.
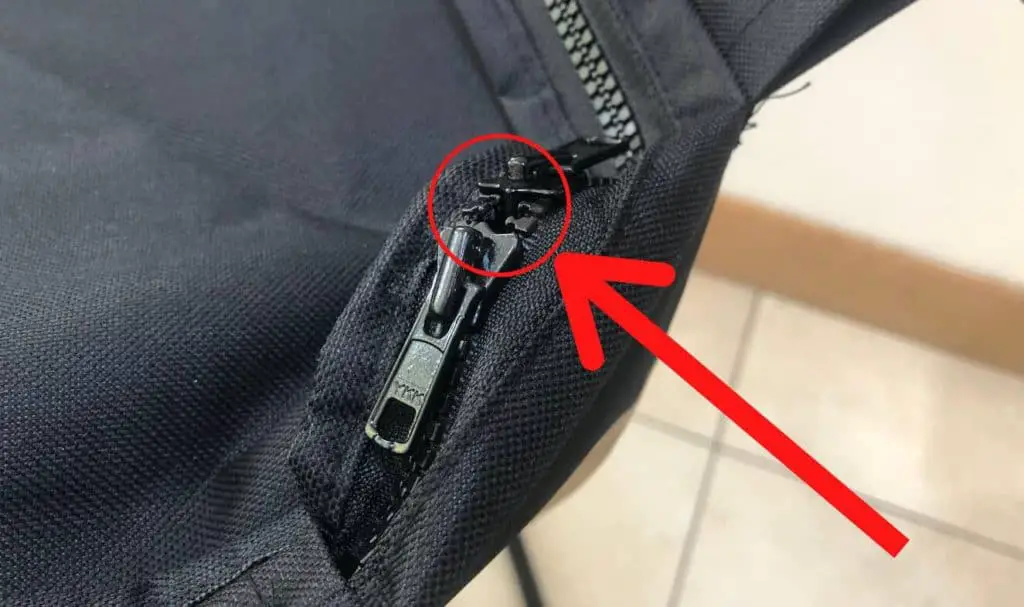
To prevent any worms wriggling out of here I use a tiny bit of cotton wool to plug the gap.
Maintenance
A problem lots of people had with version one of the worm bag was that the zipper got very dirty and was hard to open because it was in direct contact with the castings.
In version two, the zipper is protected by a drawstring pouch that holds all the castings and prevents them from coming into contact with the zip. This means the zip is always clean and dry. I haven’t had any problems with it jamming in the few months I’ve been using my bin.
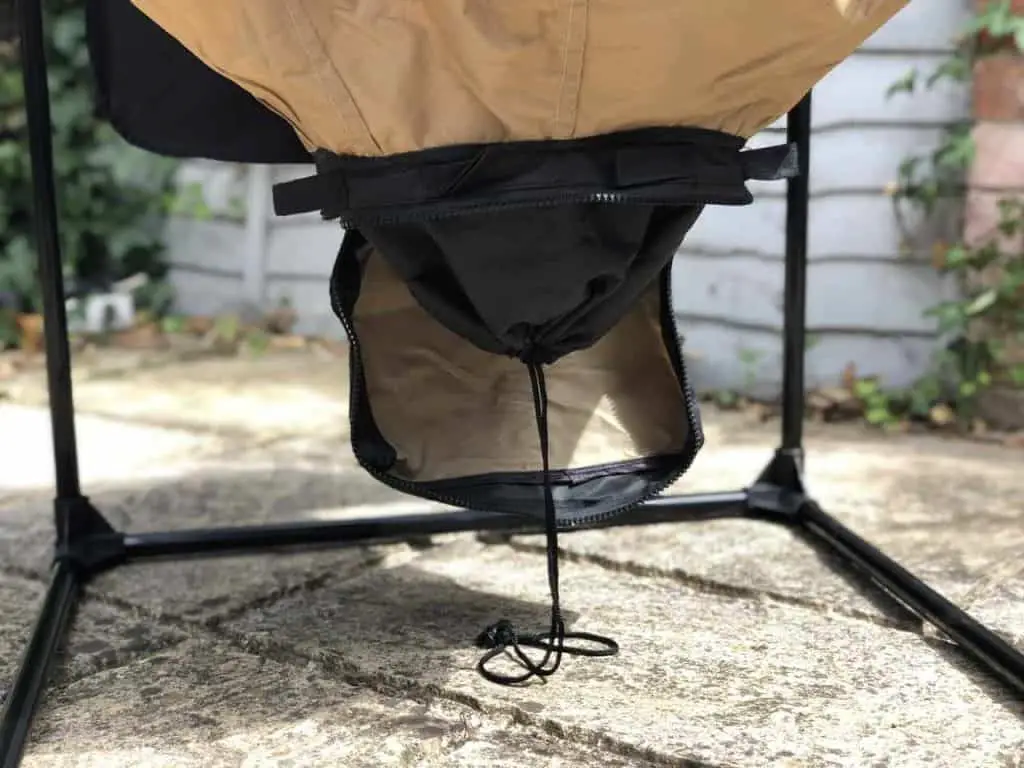
One thing I really liked that I hadn’t even considered when I first got the bag was the lack of corners. In my previous worm farm, I found that as the casting compacted they would get stuck in corners of the trays, and I would have to clean them out. With the bag design, there’s nowhere for the casting to get stuck, eliminating that annoyance.
Harvesting the castings
My first harvest was ready after around 6 months. You harvest the castings from the bottom of the bin. When you undo the drawstring, the casting start falling out.
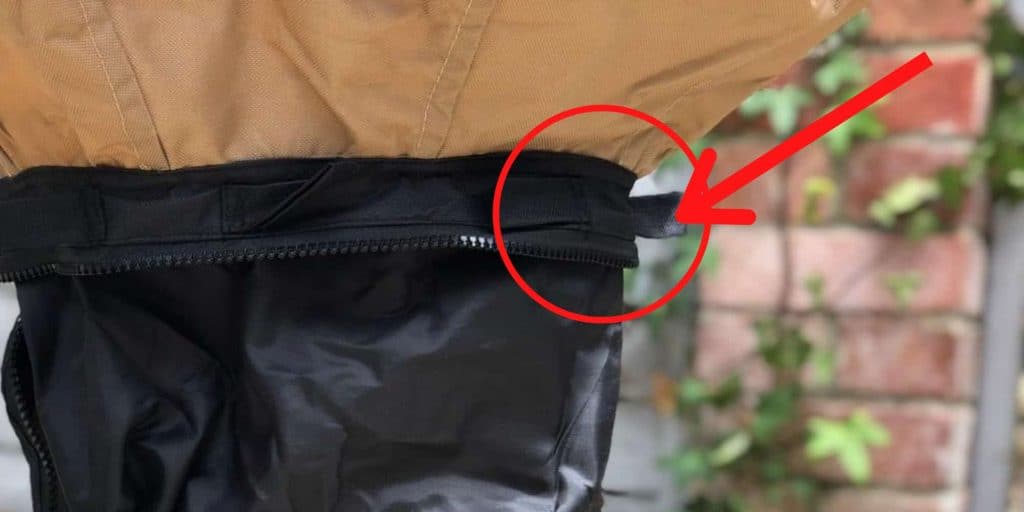
The opening isn’t that big so the castings come out slowly and it’s easy to control how much comes out. There are some loops near the bottom that you can pull to help keep the bag steady while you’re doing the harvesting.
One slight issue I has is that the gap between the bottom of the bin and the floor isn’t that big, and I didn’t originally have a container that would fit. I saw a suggestion that a cat litter box worked well so I got one of those and it did the job.
Harvesting castings from the urban worm bag was much easier than harvesting castings from a stacking worm bin, and the promise of no worms held true. There was maybe one or two stray worms in my entire tray of castings.
Verdict: a simple mechanism but requires a flat container
Customer service
A huge selling point of the urban worm bag for me is the customer service you receive. Steve, the founder of the company, is passionate about vermicomposting and does everything he can to make sure his customers are happy. As well as the detailed manual you get with the worm bin, there’s also a support email for any unanswered questions.
If email isn’t your thing, then there’s a Facebook group you can join to connect with other urban worm bag users and discuss any successes or issues you have.
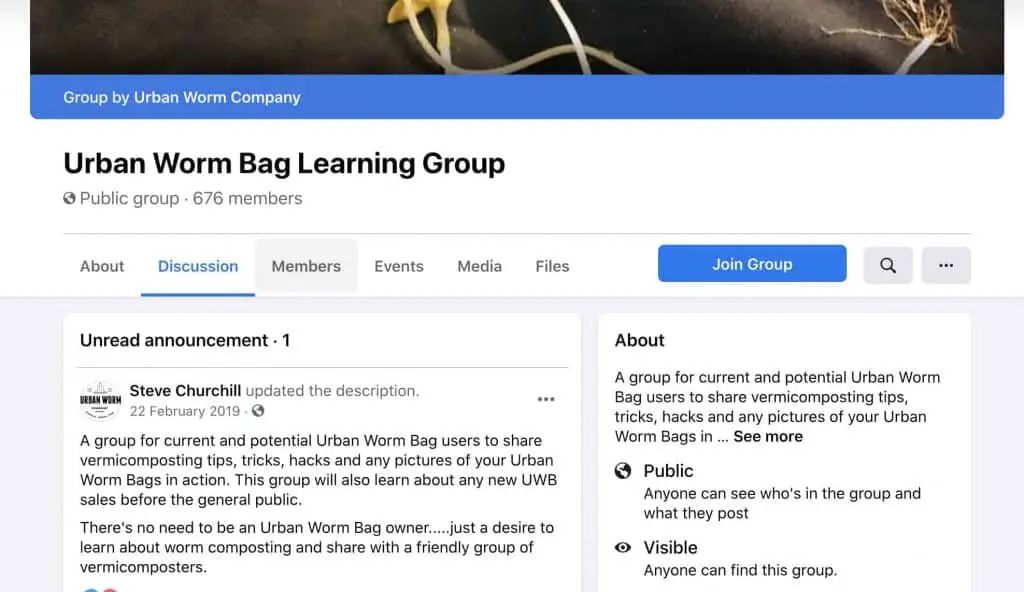
I joined and found it to be full of useful advice and tips on how to get the most out of your worms. This Facebook group is where I got the idea to use a cat litter box to collect the castings.
You get a lifetime guarantee on your purchase, so if anything does go wrong, you’re able to get a replacement. I haven’t tried this service myself because nothing’s gone wrong, but I’ve only heard good things.
Verdict: impressive support available and a lifetime warranty
The competition
Anther popular flow through worm bin is the hungry bin.

This bin is more expensive than the urban worm bag and made of plastic, so it’s less breathable, and moisture can’t evaporate as quickly. Because of this, the bin comes with a leachate collection tray to collect the excess liquid.
However, the hungry bin is waterproof, and you can keep it outside. Also, the wheels mean the bin is easy to manoeuvre.
If you think you’d prefer the stacking worm bins then check out the worm factory 360.

The main difference between this bin and the urban worm bag is the harvesting method. With the worm factory, you need to unstack the trays and remove the bottom one which should be full of worm castings.
Although the harvesting is more cumbersome, the ability to expand and shrink the capacity of the worm factory is a big advantage for some.
Summary
I love my urban worm bag and think it’s the perfect solution for anyone who wants a fuss-free experience. It was easy to set up, easy to feed the worms and easy to harvest the castings.
You can buy the urban worm bag on Amazon, make sure to check it out and let me know how you get on.
