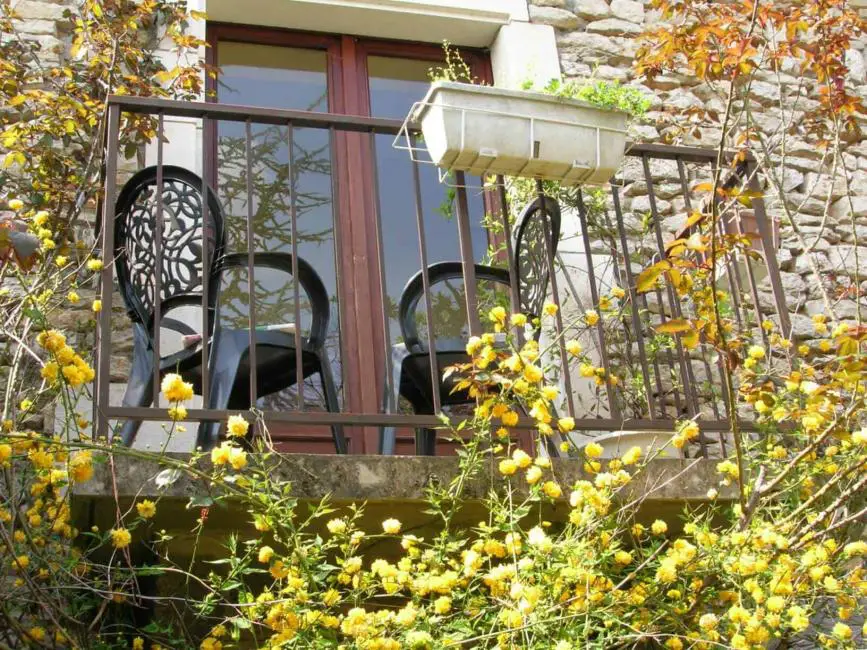
I grew up composting with a big open pile, but when I moved to London and only had a balcony, this wasn’t an option. This led me to experiment with different balcony composting methods to see which one I liked best.
I tried a few different things, including bokashi, vermicomposting, and composting in a tumbler.
So how do you compost on an apartment balcony? Overall the best way to compost on a balcony is by using worms. Worms massively speed up the composting process, so you don’t need a lot of space, and a well-functioning worm farm shouldn’t smell or attract any flies. Worms can produce compost all year round as long as the bin doesn’t get too cold.
What to consider when trying to compost on a balcony
Balconies are limited on space, and directly attached to your living area. Both of these present some issues when it comes to composting.
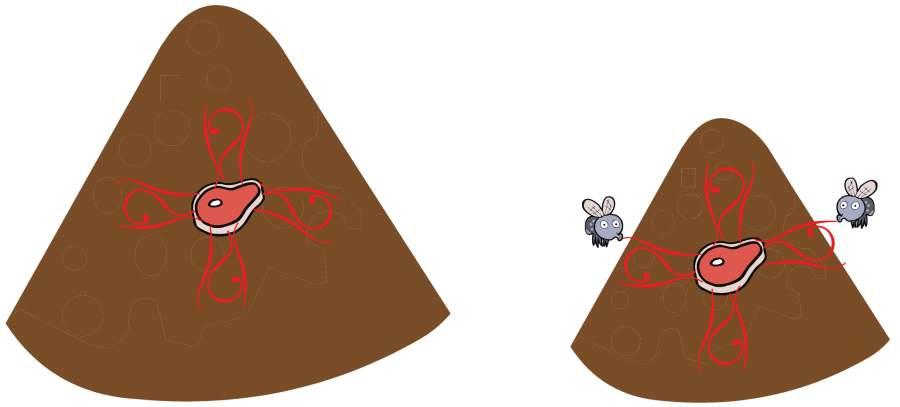
The smaller area means you’re limited on the size of your pile and therefore how much waste you can compost.
Also, smaller piles struggle to get really hot which slows down the decomposition process, further reducing the amount of waste you can process.
A balcony compost bin needs to be space efficient and have some way of speeding up the decomposition process.
A second consideration when composting on a balcony is that because of how close the bin will be to your house, you need to be sure that the pile isn’t going to smell or attract pests. Rodents are less of a problem on high up balconies because they can’t get there, but flies can still become an issue.
The smaller the pile, the less margin for error you have. In larger piles, it’s okay to compost small amounts of ‘forbidden’ items, but in balcony compost bins a tiny mistake could have disastrous consequences.
Balcony compost bins require a lot more attention to detail, so the solution needs to be one that’s not too difficult to maintain.
Check out our what can you compost tool to see exactly what you can and can’t compost.
How to compost on a balcony
We saw above that balcony composting solutions need to be able to be space efficient, fast and easy to maintain.
Here are the methods I tested and what I thought about them.
Vermicomposting (composting with worms)
Vermicomposting is an excellent option for composting in a small space such as a balcony because worms drastically speed up the process.
With regular composting, you could be waiting up to a year for finished compost. With worm composting you can have finished compost in as little as 2-3 months.
Also, a well-maintained bin shouldn’t produce any odours or attract any pests. The worms won’t annoy your neighbours, and you can still use your balcony for relaxing!
Vermicomposting is a continuous composting solution. This means you can put scraps in whenever you want, and you can harvest the compost regularly. Being able to put your scraps into the compost bin straight away is useful for composting on a balcony because it means you don’t need to worry about storing your waste.
One thing to be aware of when worm composting outside is that, just like humans, worms are sensitive to temperature changes. Red wigglers, the most common composting worms, are most productive when their environment is between 60-80 degrees Fahrenheit.
Balconies are not temperature controlled, which means you need to keep an eye on the temperature of the bin and make sure it stays within the suggested range.
Compost thermometers have extra long stems so you can easily measure the temperature all the way through your bin rather than just at the surface.
My balcony wasn’t in the sunniest spot, which was not so great for me, but great for the worms. Lots of sun exposure can cause your bin to heat up and also means moisture evaporates quickly. Always try to place the bin in the shadiest spot on your balcony.
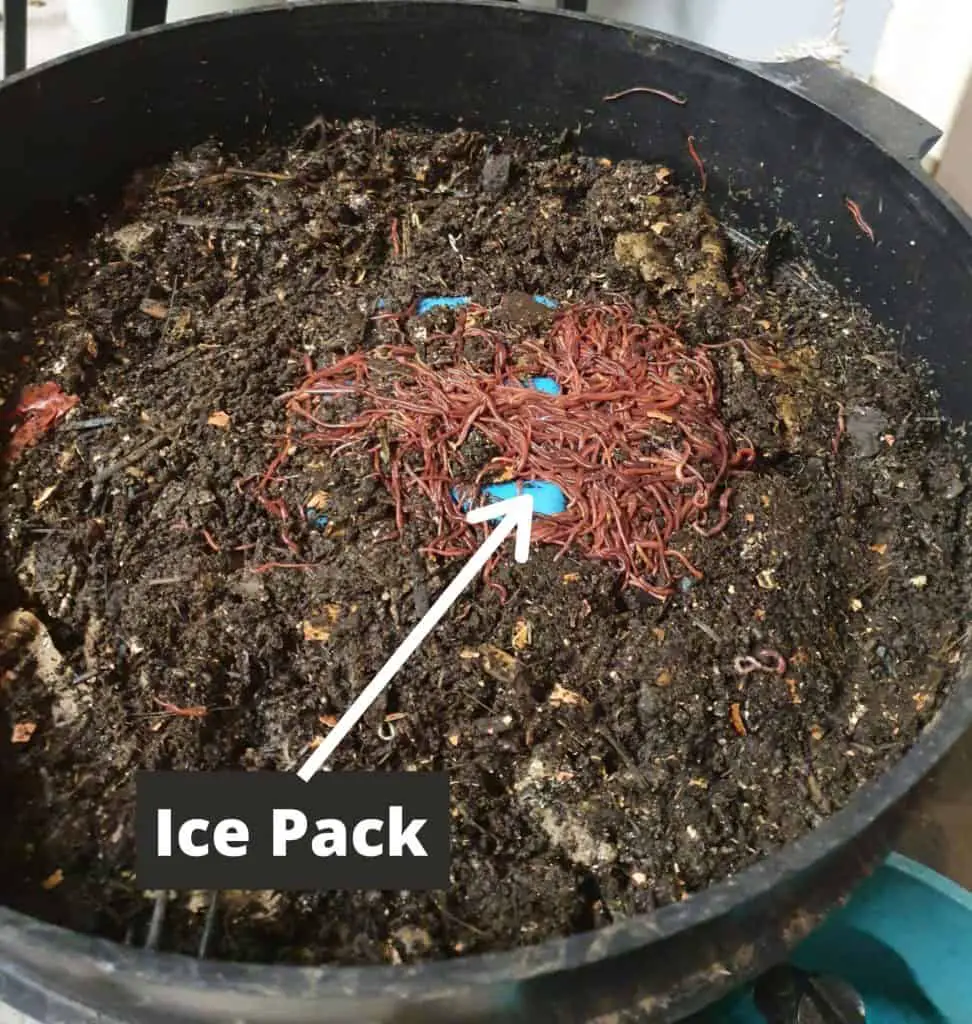
If the bin gets too hot, you can cool it down with wet towels and ice packs. In the height of summer, if you have a really sunny balcony, it might be worth bringing your bin inside to protect it from overheating.
Likewise in winter, if the bin is kept outside without insulation, then it might get too cold. I brought my bin inside during the winter for this reason, and also to protect it from the frequent rain we have in England!
For more information on how to compost with worms check out our comprehensive guide.
The best worm bin for balconies
My favourite worm bin to use on a balcony is the urban worm bag.

The bag is really easy to use and harvest your castings from. And because everything happens in the same bag rather than in individual trays, you can easily check on the bins progress and make adjustments if needed.
The bag is a good size for most balconies, and the customer service is top-notch if you ever need any help. The only downside is that it’s not waterproof, but that’s easily fixed by covering it with some plastic tarp.
For more details, you can check out my in-depth review of the urban worm bag.
If you have a really small balcony or want something that takes up minimal space, then the Worm Factory 360 is another fantastic worm bin. Its footprint is only 18 inches by 18 inches and has a stackable design so you can expand the capacity if you need to.
For a full list of worm bins we recommend take a look out our roundup of the best worm composters.
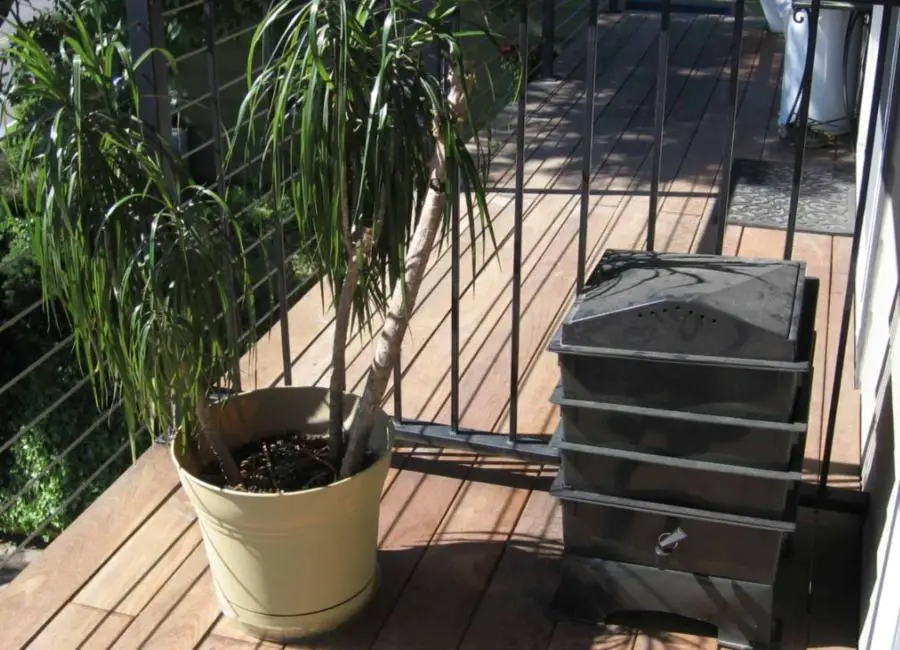
Compost tumbler
The other method I tried was using a compost tumbler. There are no worms involved in this one because I know not everyone wants worms in their apartment.
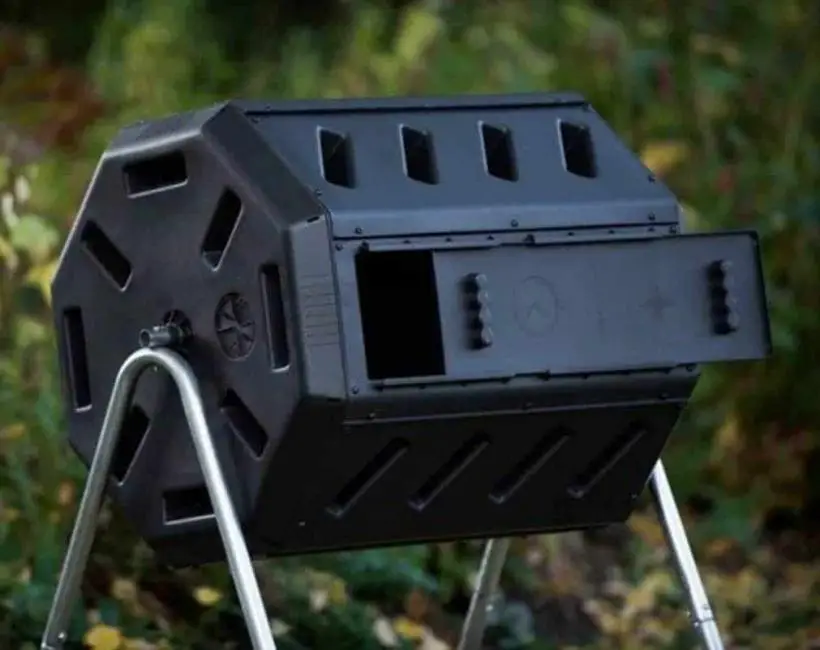
Compost tumblers are similar to standard compost piles in the fact that you have to fill them with a mixture of carefully balanced greens and browns and then leave it to decompose. However, the ability to turn them so quickly means the contents is kept well aerated, and the waste breaks down quicker.
In perfect conditions, tumblers claim to produce compost in as little as a few weeks. However, the smaller sized tumblers suitable for composting on a balcony can take a bit longer.
I used this organic compost starter in my tumbler to make sure it was full of beneficial microbes. The mix helped kick start decomposition and speed up the whole process.
Unlike vermicomposting, the more sun a compost tumbler can get the better. Higher temperatures mean faster decomposition. Because my balcony was quite shady, I found the tumbler to be a bit slow at processing my waste, especially during colder months. However, if you live in a warm climate and gets lots of sun, this won’t be an issue for you.
Once the bin is full, you’ll need to leave it for a while to let all the food scraps decompose. For this reason, lots of people choose to have more than one tumbler or a tumbler with dual chambers.
While one side is curing, you can start filling up the other one.
The compost is contained, so as long as you keep an eye on the conditions within the bin, there should be no smells or pests. Read our guide on how to compost to learn more about how to maintain the perfect compost bin.
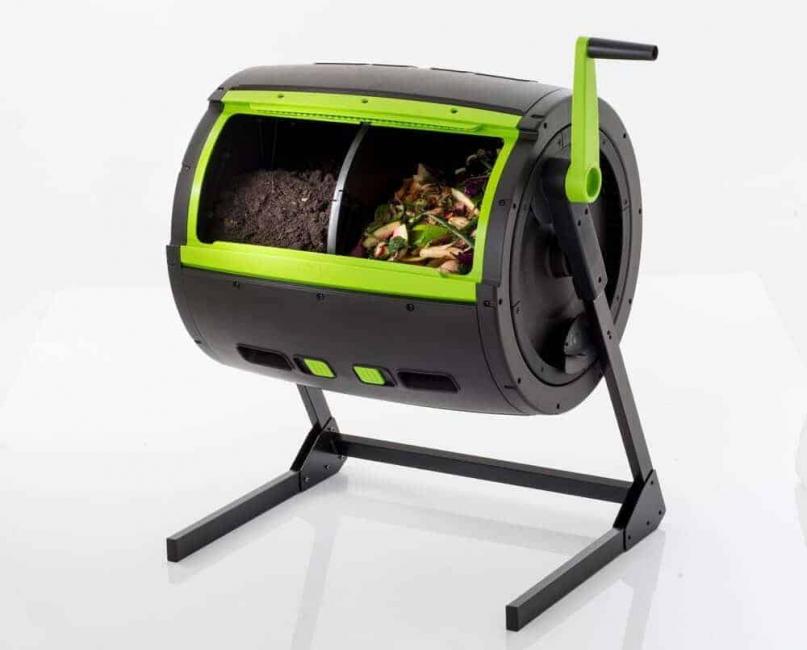
The best compost tumbler for balconies
The one-chamber miracle-gro composter is small enough to fit on any balcony.

There are two sizes, 18.5 and 27.5 gallons, both of which have a compact footprint. The smaller size measures just 18.1 x 23.6 x 33.1 inches.
The composter is sefl-contained so you wont get any leaks and has a mixing bar on the inside. The mixing bar ensures the compost stays well aerated and speeds up the process. Speed is vital when you’re limited on storage space.
Bokashi
Bokashi is an anaerobic fermentation process and creates a pre-compost mix out of food scraps.
It’s not a stand-alone method and needs to be combined with one of the options above. But the fermented scraps break down very quickly in both a worm bin or a compost tumbler, so doing this first helps to make the composting process as fast as possible. Helpful if you’re limited on space and trying to process a lot of scraps.

The bucket is small and can be kept out of sight in a cupboard. I kept mine under the kitchen sink. This is the bokashi bucket I purchased because it was relatively cheap and came with some bokashi microbes. Check out our bokashi bucket reviews for alternatives.
The bokashi system itself is odourless, space-efficient and fast. The only time I could smell it was when I opened the lid to take the fermented scraps out. Also, you can use it for composting forbidden foods like meats, dairy and oils.
Usually, people avoid composting these things because they can smell and attract pests, two things which are very undesirable when composting on a balcony. The pre-processing of these foods gets rid of these issues by making it really easy for the composting microbes to break down the offending scraps, so they don’t hang around long enough to cause problems.

You put your food scraps into a bokashi bucket and add microbial starter mix, then seal the bin and leave it for two or three weeks. The microbes will start to break down the fibers and pickle the scraps.
Every few days you need to drain the liquid from the bucket. The liquid will have some of the beneficial microbes from the bokashi mix in so you can dilute it and use it to water your plants.
Feeding Bokashi to worms
My worms loved the bokashi food I fed them. Check out the video below to see exactly how worms react to being fed bokashi.
Worms actually feed off the bacteria that are digesting the food rather than the food itself. The bokashi mix is already teeming with microbes, which is one of the reasons worms like it so much.
One thing to look out for is that bokashi pre-compost is quite wet and very acidic. This can cause problems in a worm bin if you add too much. I started by adding it very slowly to one side of the tray until the worms got used to it. I buffered the extra acidity with crushed eggshells.
Using Bokashi in a compost tumbler
You can also put the bokashi pre-compost straight in your compost tumbler.
The pre-compost is made from food scraps so is high in nitrogen. To prevent smells, you need to mix it with a lot of carbon-rich material such as shredded paper or cardboard. This will also help soak up any excess moisture. I aim for about three handfuls of brown stuff for every handful of bokashi.
Need a shredder that can handle cardboard? Check out this budget-friendly option from the amazon basics range. The 12 sheet shredder can handle cardboard with ease.
Also, because the mixture is acidic, this can encourage anaerobic bacteria to grow in the compost. Turn the compost more than usual after adding the bokashi pre-compost to keep it aerated and prevent this from happening.
Creating a soil factory
Another way to use the Bokashi pre-compost is to create a soil factory.
A soil factory is essentially a mini compost bin that uses Bokashi as the green material and soil as the brown material. After a few weeks, you’ll have some nutritious compost.

The method is easy:
- Fill a bucket with a few inches of finished compost or garden soil
- Mix your bokashi pre-compost with some of the finished compost or garden soil
- Add the soil/bokashi mix to the bucket
- Cover the mixture with another few inches of finished compost or garden soil
- Cover it with a lid and wait for 2-4 weeks
Blending the bokashi pre-compost first, warm temperatures and mixing the soil factory every few days will speed the process up.
If you notice the mixture becoming wet and slimy, leave the lid off for a bit to let it dry out. You could also drill some drainage holes in your container and suspend it in a bigger box to stop the leachate leaking all over the balcony floor.