So you got a new bidet or are thinking about getting one? But now you’ve got to learn how to install a bidet. No worries, we will go over how to install a bidet step by step in this article. Let’s go over some basics about the bidet first.
A bidet is basically a hybrid washing appliance for your private regions. Although a bidet is not a commode, basin, or tub, it is a separate fixture with qualities similar to those other bathroom fixtures.
Whenever you place a bidet in your lavatory, you receive a number of sanitary and functional benefits. A bidet cleans more completely than toilet paper and allows you to use almost no toilet paper. Compared to washing or bathing, a bidet saves a lot of water and keeps you fresher for much longer.
Although installing a bidet may appear daunting, it is actually relatively simple. The compact bidet is simple to manage and installs similarly to the lower part of a toilet with the tank removed.
Installing a bidet is not only easy. It almost immediately becomes a favorite fixture for anyone who uses it. No matter how worrisome you might feel about doing so, installing the bidet in your home bathroom couldn’t be simpler.
If you’re considering a bidet and are looking for an inexpensive way to give it a shot, take a look at my article comparing the best bidet converter kits on the market today!
Let’s get into it!
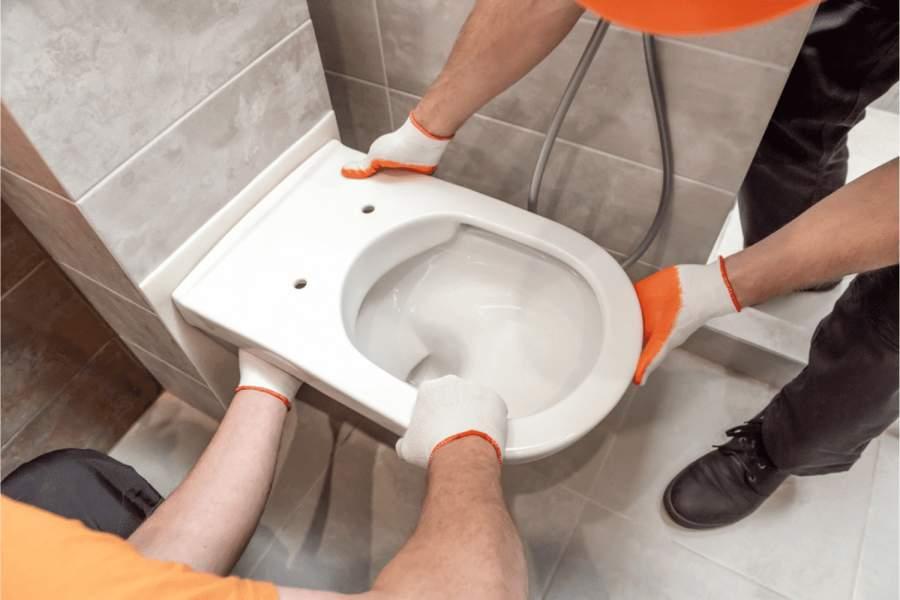
1. Remove Your Toilet Seat
The first step on how to install a bidet is to take off your current toilet seat. This is perhaps one of the easiest steps. All you need to do is detach the seat, which is typically attached to the toilet with a pair of large mounting bolts. Sometimes there are coverings on the bolts, so you must take them off and then get at them with a screwdriver.
Once you have the bolts taken off, lift up the seat, and it will come off with ease. You should then clean the seat’s rim and ensure your toilet looks presentable and ready for the bidet that is about to be installed. Use this time as a chance to tend to your toilet and make it look squeaky clean.
2. Turn Off The Water Supply
Next, you will need to ensure the toilet’s water supply is shut off before installing your bidet. This is another easy step.
A supply hose from the wall should be running to the bottom of the toilet tank and is usually connected by a valve that is oval in shape. This is the toilet shut-off. Turn the valve clockwise until the water supply into your toilet is stopped.
After you have done that, you need to flush the toilet one more time to drain the water that remains in the tank.
3. Install The T-Valve
Your new bidet should come with a T-shaped valve. The purpose of this is to divert the water that goes from the toilet to the bidet itself.
To use this, unscrew the hose from the bottom of the toilet tank. You should expect just a little amount of water to leak out, so make sure you have a towel and maybe even a bucket ready to help.
After that, attach the T-valve to the very bottom of the tank where the hose used to be. Then you will also attach the hose to the bottom of the T-valve.
4. Mount The Bidet
Your bidet will also come with a plastic mounting plate. You will then position this plate on the back of the toilet rim and then slide it into place with the bolt holes that are now empty.
Slide the mountain bolts through the bolt holes now and secure them by screwing them in. Some bolts are metal. Some are plastic. It all depends on the product you are using. That means you may be using your hands or maybe a screwdriver, depending on the material.
Next, you will slide the bidet seat onto the mounting plate located at the back of the toilet. It will click into place; that is how you will know it is set.
5. Connect The Bidet To Water Supply
The bidet will have its own hose for the water supply. You will attach one side of the hose to the opening of the T-valve. Then you will attach the other end of the bidet hose to the side of the bidet seat. Make sure everything is secure and tightened correctly.
Once that is done, you can once again re-open the shut-off valve that you previously turned off.
Your toilet tank will then fill up, and it will also supply your bidet seat with the water needed to function correctly. Make sure you check for any leaks, and if you need to, tighten the hose and any connections.
If you have yet to get a bidet to install, these are our top recommendations.
Top Rated Bidets
Alpha JX Bidet Toilet Seat
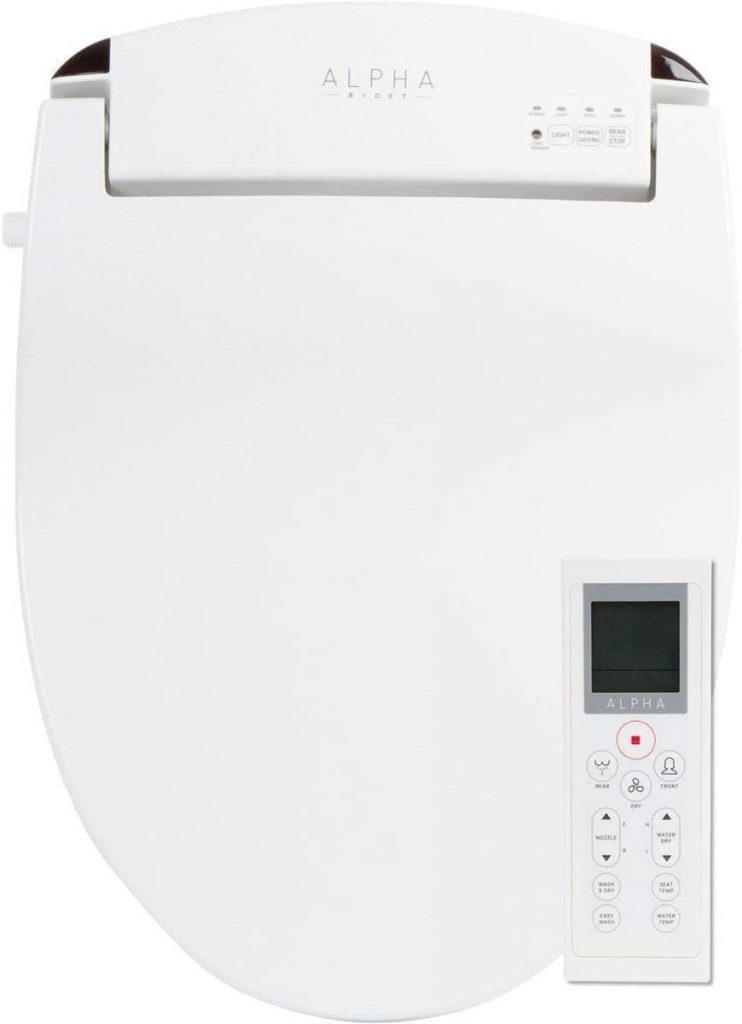
Coming with a stream of warm, comfortable water and even an LED light, so this is a bidet kit that is easy to install, great to use and even comes with a three-year warranty. It’s hard to beat the quality and price point of this bidet. Installation only takes minutes.
Bio Bidet BB-2000 Bliss Toilet Seat
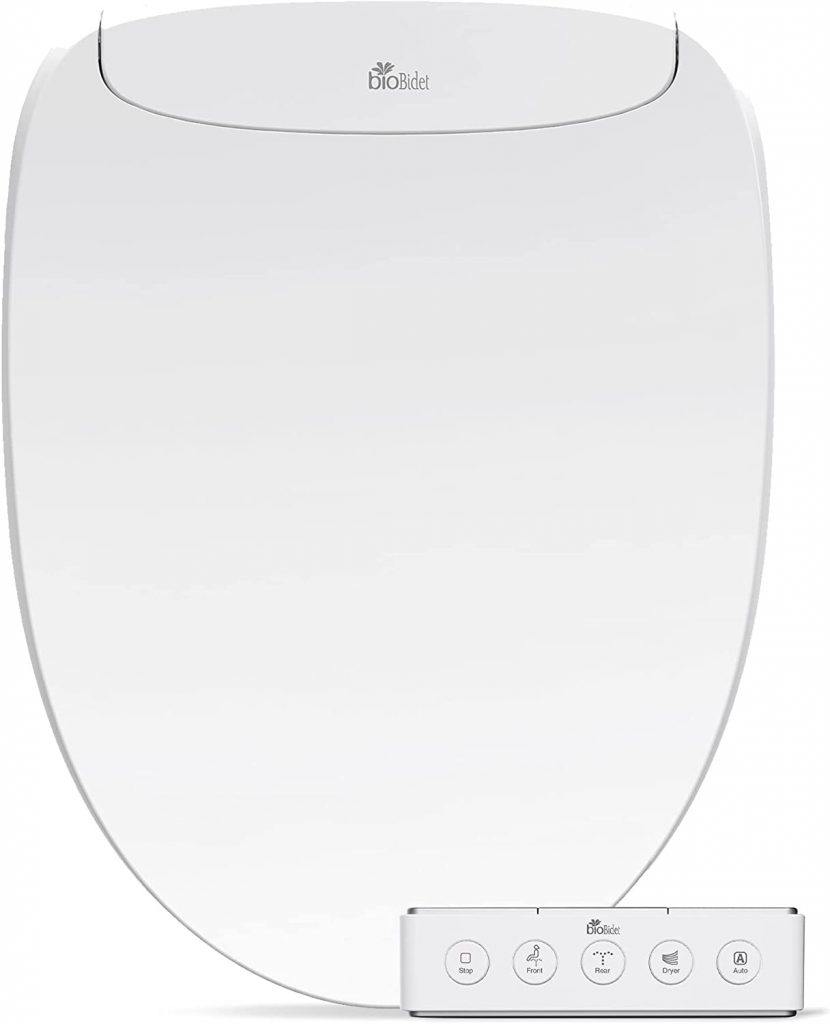
This is one of the most popular bidets on the market right now. It is consistently a top-selling product that has excellent reviews from customers. The spray power from this bidet is stronger than most, and it can also comfortably seat someone up to 400 pounds. With a stainless steel nozzle and dryer, it is effective and simple to install too. But for all of those features, the price point is rather friendly. If you’re interested in the Bio Bidet brand, check out our review of the Bio Bidet models.
Alpha UX Pearl Bidet Toilet Seat
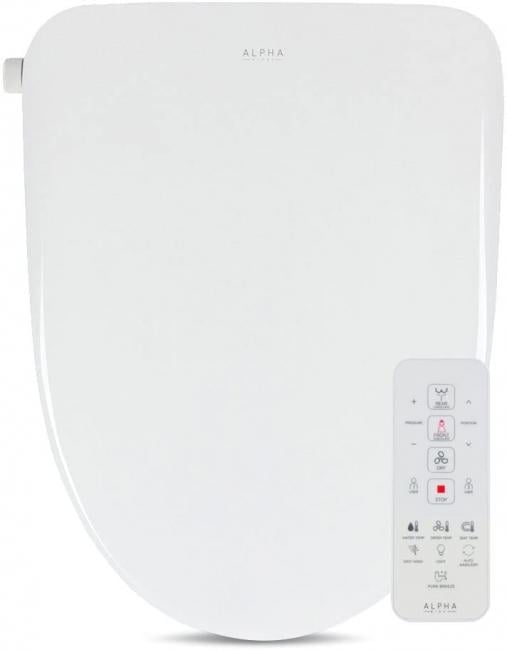
This is a slim, comfortable bidet that has features such as an air plasma bowl sanitizer, an LED nightlight, as well as custom presets and deodorizer too. It is functional and has some advanced functions but is still very inexpensive. Plus, installation is a total breeze too, and even someone with no experience can install is quickly.
We hope you’ve found our article on the 5 steps on how to install a bidet helpful and valuable! Be sure to check out more of our bidet articles for comparisons, reviews, and more information on bidets!