If you’ve spent any amount of time tending to your compost, you’ll want to make sure you keep your hard work when the time comes to move.
Even if you’re not moving house and just need some tips for moving your oh-so-heavy compost bin across your yard, this article is also for you.
In this article, I cover everything you need to know about:
- Moving house with a compost bin
- Step by step instructions on how to prepare compost for a move
- Moving your compost bin to another spot in your yard
- How to choose the best place for your compost bin
Ready? Let’s jump right in.
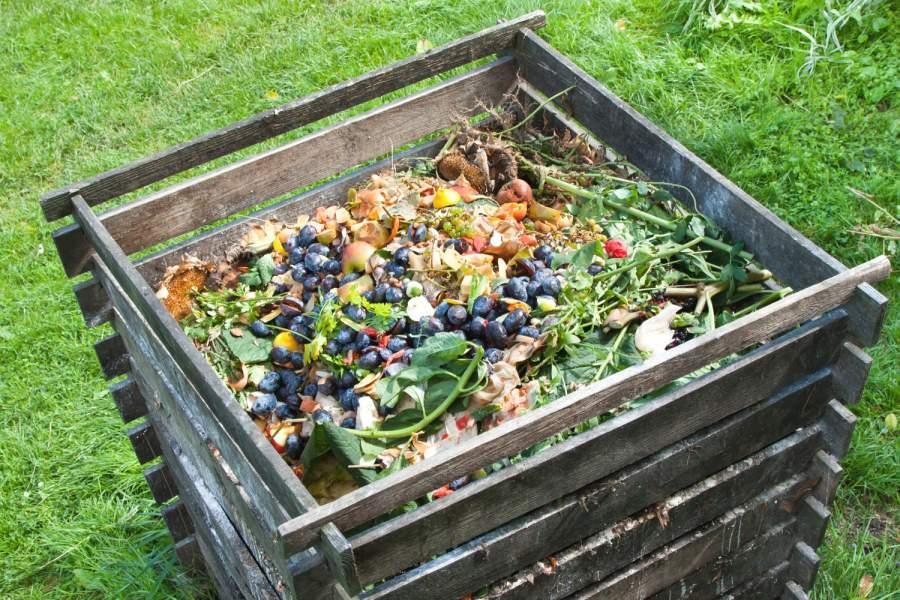
To move a compost bin it’s easiest to take all the compost out and place it in bags or a wheelbarrow. You can then move the bin and the compost separately. Put the compost back into the bin in its new location. Moving compost is a good opportunity to check the health of your compost.
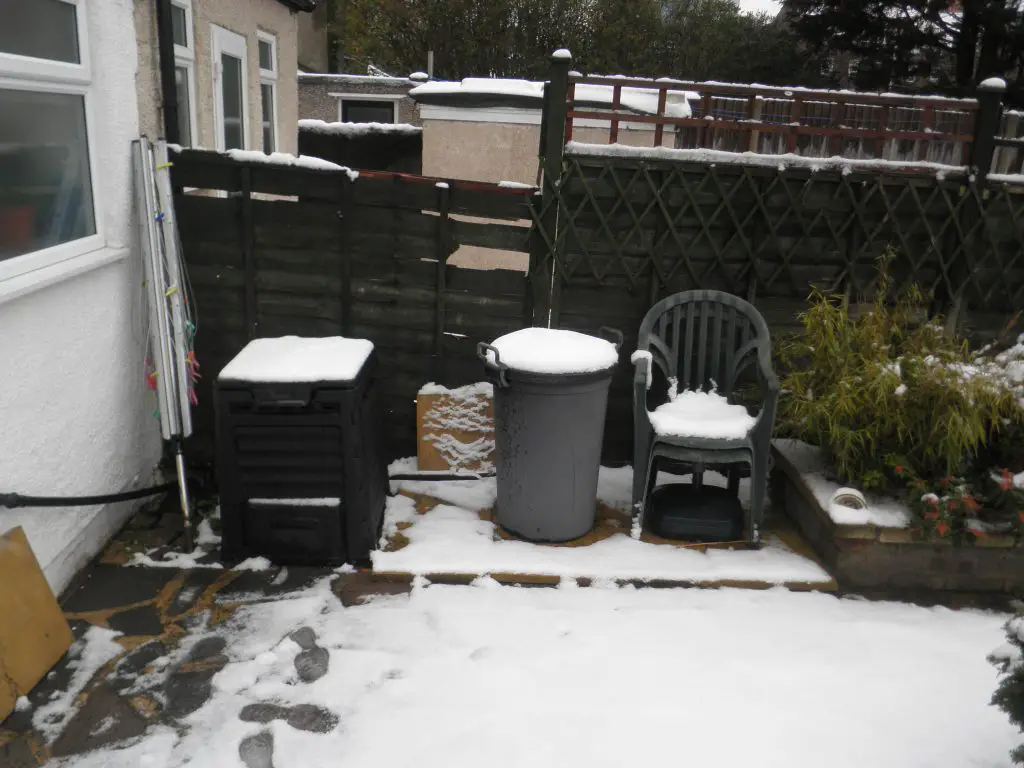
How to move a compost bin
Compost bins are often deceptively heavy and you’ll likely struggle to move them without taking the contents out. Especially if you have a full bin.
But don’t worry, moving compost is actually a good opportunity to check on the progress of your compost and give it a turn. Churning the compost helps to introduce air into the system and speed the process up.
By removing the compost first, you can check things like:
- How much of the waste has broken down
- If there’s anything in the compost that’s not breaking down and needs shredding
- The moisture levels
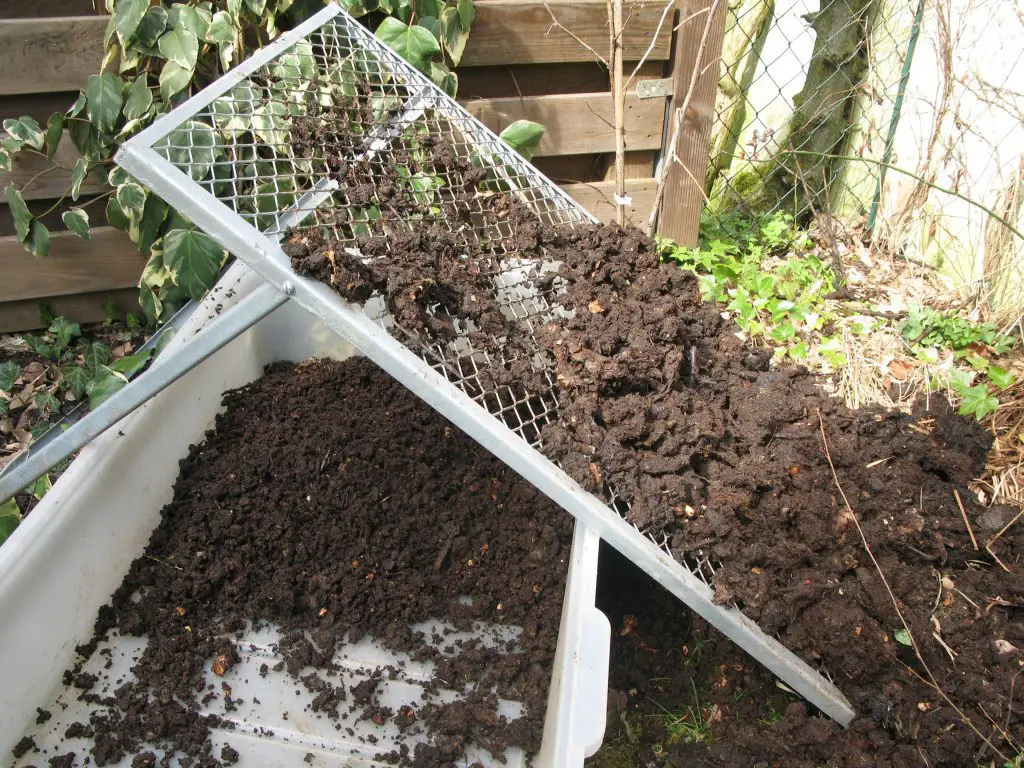
You can also take the opportunity to sift the compost and separate the finished stuff.
I’ve split this section into moving house with compost, and then moving compost around your yard.
How to move house with compost
Some people probably think you’re crazy for wanting to take your compost with you when you’re moving house.
But they just don’t understand. Leaving the compost just isn’t an option. It’s like throwing away months or even years of hard work.
No thank you!
Here are some tips on how to move house with compost:
- Empty the contents of your compost bin into plastic boxes or bags. Boxes with lids are best if you’re worried about spillage. Remember to test the weight of the boxes every so often, and stop filling them up when they get too heavy.
- Put the boxes into your car or truck ready for transportation
- Rinse the outside of the compost bin to avoid getting your car dirty (optional)
- Disassemble the compost bin if you need to, and put it in your truck or car
- At the new location, reassemble the compost bin
- Sift through your compost to get any finished compost out
- Put any unfinished compost back into the compost bin
Paper bags or cardboard boxes are ideal because you can add them to your compost when you get to your new house.
But beware that if your compost is wet, the water will seep into the paper during transportation and when you lift the box up at the other end… BAM compost everywhere.
Cardboard boxes will be more reliable than paper bags, and to minimize the risk of soggy boxes you can dry your compost out before you move (I explain how in a second).
With plastic boxes or bags, you don’t need to worry about moisture. And you can wash the boxes out and re-use them for something else once you’re done. They make great storage devices.
Dry out your compost
As I said above, if you’re using paper or cardboard to transport your compost, you’ll need to dry the compost out to make sure it doesn’t ruin the boxes.
Even if you’re using plastic boxes, drying your compost out is still a good idea.
Wet compost weighs a lot more than dry compost. The dryer your compost, the more compost you’ll be able to fit in a box before it becomes too heavy to lift
To dry the compost you can simply leave it out in the sun for a few days.
Or you can mix in some new dry materials like dry paper or dried leaves to soak up some of the moisture. These also add some bulk to your pile and prevent it from becoming too compacted in the move.
A note on moving states with compost
If you’re moving states, you might run into trouble at the border if you’re carrying compost.
Soil and plants (and therefore compost) can carry a variety of pests and diseases, some of which will be specific to your area.
By moving your compost from one state to another, you risk introducing a previously unseen pest or disease to the new state.
This could have disastrous effects, particularly for states that depend on farming.
For example, if you accidentally transported a disease that affects potatoes into Idaho, and this gets into the farmland, you risk completely ruining their economy (no joke).
You don’t want to be that person.
Check the regulations surrounding soil for your new state before you go through the effort of packing up all your compost.
If you’re not sure, contact your current or destination state’s Department of Agriculture office. They’ll be able to point you in the right direction.
What to do if you can’t move your compost
If you decide all this is too much effort, or you’re moving to a state where you can’t take your compost, you have a few options.
- Mix the compost in with the current soil or lay it on top of the lawn or flower beds to enhance the soil for the next occupants
- Ask if whoever is moving in would like to keep the compost bin or its contents for their use
- Ask a neighbor or friend if they want the compost – anyone with an interest in gardening should jump at the chance
- Take it to your local community garden
- Offer it up on sharewaste.com and see if there’s anyone in the area looking for compost on there
Never just leave the compost bin without asking the new occupants or the landlord, or you could be charged for its removal.
If you plan on starting a new compost pile in your new house, take a small sample of your current compost with you to help kickstart your next pile. A Tupperware full should be enough.
The old compost will be full of microbes that can start work on your new compost straight away.
Note – the state rules surround transporting soil still apply even if it’s just a handful.
Moving your compost bin to another spot in your yard
Has a tree route invaded your pile? Or maybe you’ve realized the spot you originally chose for your compost is just plain old inconvenient?
Whatever the reason, it’s super easy to move your compost to a different spot in your yard. Here’s how:
- Pick the new spot
- Prepare the new area by making sure there’s a flat spot
- Empty your compost bin into a wheelbarrow (or boxes if you don’t have a wheelbarrow)
- Move the bin to the new location
- Wheel the compost over to the new bin
- Sift the compost to separate finished and unfinished compost
- Put any unfinished compost back into the compost bin
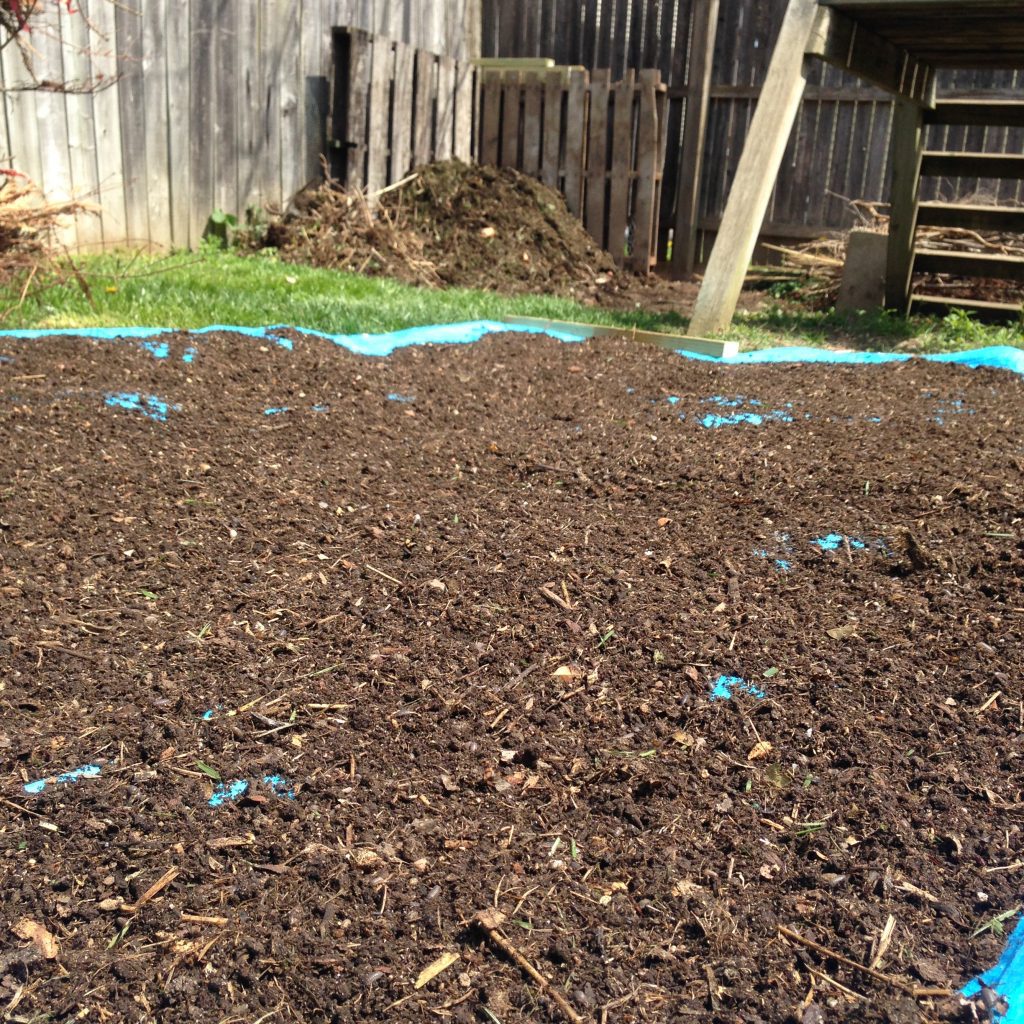
Once you’ve moved the compost, don’t forget about the patch you moved it from.
The newly exposed soil will be full of nutrients that have leached out of your compost. The area is perfect for creating a new plant bed or growing some vegetables.
I tend to move my compost every year just so I can use the soil underneath.
What’s the best place for a compost bin?
The best place for a compost bin is somewhere that’s easy to get to (even in winter), that’s near a water source, and where occasional smells or pests won’t cause a problem. Partial sun/shade is best in terms of sunlight. Finally, aim to keep the compost out of the wind. Too much wind can dry the compost out.
Avoid placing your compost in contact with anything susceptible to rot. The microbes won’t be fussy and will start eating away at your wooden fence if they have the chance.
Look out for any trees nearby because the roots will steal nutrients from your compost. The roots may even start to grow into your compost.
The most important thing to think about is if you’ll use the compost bin in its intended position. Ask yourself if you’ll use the bin if it’s where you plan to place it?
If the answer is not as often as you’d like, pick another spot. Even if it doesn’t tick all the boxes. There’s no point in having a perfectly positioned compost bin if you don’t use it.
Should a compost bin be in the sun or the shade?
Whether your compost is in the sun or shade should be a secondary consideration. A convenient location is the most important thing. But bear in mind that too much sun can dry a pile out, and too much shade increases the risk of a soggy pile.
That’s the short answer, now for the long answer.
It’s a myth that compost bins need to be in the sun to heat up.
I wanted to say that straight off the bat because it’s a VERY common misconception.
Heat from the sun actually has very little impact on your compost (except drying it out).
So how does compost heat up?

Compost generates its own heat. Heat is a side product of the reactions going on inside your compost pile.
This is why the middle of your pile is hottest because that’s where the most biological activity is going on. If the sun was generating the heat, then the outside of the compost would be the hottest and most active.
A well-balanced (and large enough) compost pile can reach temperatures of up to 140 degrees Fahrenheit, even in the dead of winter!
What the sun does affect is the moisture levels in the compost.
Too much sun can dry your compost out. Not enough sun, and the compost can become soggy because no moisture is evaporating.
Both these problems can be avoided with careful monitoring, but it will make your job harder.
Compost that’s drying in the sun can be watered more often (but this isn’t very eco-friendly if you live somewhere at risk of drought). And you can hold off on watering a super shady pile or add more dry materials to soak up excess moisture.
Therefore, the perfect spot for your compost would be a mix of sun and shade. But remember, convenience is more important because there’s no point in a perfectly positioned compost bin if it’s too inconvenient for you to use.
What’s the best surface for a compost bin?

The best surface for a compost bin is soil. That way excess moisture can drain out the bottom of the bin, and worms and other beneficial organisms are free to work their way up into the compost.
Never put an open-bottomed bin on decking. This is because the liquid drainage can stain the wood, or even cause it to rot.
Concrete is okay as long as you put a layer of twigs at the bottom to allow for drainage, but you may end up with some staining from the leachate.
Also, worms won’t naturally find their way into the bin from concrete, but you can always add some soil into your compost yourself and make sure there are a few worms in there. The soil will introduce beneficial microorganisms and give your compost the kickstart it needs.
If your bin has a solid bottom, or it’s raised off the ground then it doesn’t matter what surface you choose.