Composting is a great way to reduce the amount of waste sent to landfill. During the spring it’s easy, but as the cold temperatures set in you might be left wondering if you can carry on recycling your food waste.
Lots of people leave their pile to go dormant during the winter, but you don’t have to. Winter composting is possible, even in the deep freezes of northern America and Canada. You just have to know how. And I’m going to tell you how.
If you don’t already have a compost bin and you’re interested in winter composting, check out my guide to the best compost bins for cold climates. These bins will set you up nicely to have high-quality compost throughout the year.
Can you compost in the winter?
You can compost all year round, even in the winter. However, decomposition will be noticeably slower in the winter and might even stop altogether if you don’t take steps such as insulating your compost to protect it from the cold.
Composting is the process of bacteria and fungi breaking down organic matter. Just like humans, microbes become sluggish in the cold. They require heat to work effectively. When the temperature plummets, so does the microbial activity in your compost pile.
The key to winter composting is keeping your pile warm enough to keep the microbial networks active.
How to compost in the winter
Winter composting is all about insulation and keeping your pile as hot as possible.
The basics of composting become even more important in winter. With the temperature working against you, things like the brown:green ratio of your pile and the moisture levels need extra attention. If you’re not sure what I mean by the brown:green ratio, then head over to my guide on the basics of composting where you can swot up.
How to prepare your compost bin for winter
The preparation for winter composting starts in the fall. The more you can prepare your pile before the cold weather hits, the better the chance your compost has of staying active. Let’s face it, no one wants to be out in the winter for too long working on their compost pile.
Empty your bin of any finished compost in the fall
If you’ve been composting all summer, then come autumn your bin should have lots of finished compost in it. Harvesting this before the winter sets in means there’ll be plenty of room for new active materials to be added.
Finished compost won’t heat up. During winter, you want to make sure the bin is full of materials that the microorganisms can work on and will therefore generate heat.
It’s a good idea to mix in a handful of the finished compost with your new materials to help activate the pile. Finished compost has lots of good microorganisms in and will give your winter compost a much-needed boost.
Ensure you have a good supply of brown materials
Every active compost pile needs the right mix of brown and green materials. Winter piles need more brown materials than piles built during the growing season to stop them from freezing. Overly moist piles are more prone to freezing, which will halt the composting process completely.
Therefore, it’s best to err on the side of caution and run your pile slightly on the dry side. Brown materials dry your compost out.
Unfortunately, brown materials can be hard to come by in winter. Dry shredded leaves are one of the best brown materials you can get, so make sure to stock up on these during fall.

You can store them in black plastic bags or in a dedicated leaf bin. If you make sure they’re completely dry before you bag them, they’ll last all winter.
If they’re a little bit wet, the leaves will start to decompose. Adding a source of nitrogen like grass clippings will accelerate the decomposition, although it won’t be too fast because it’s winter.
You can still use partially decomposed leaves as brown materials. They can be very handy when it comes to spring and you want something to kickstart your summer pile.
Other brown materials include wood chippings, paper, and coco coir. You can also use a chipper shredder to chop bigger branches into wood chips you can use in compost.
Bulk out the pile in the fall
As you’re not going to turn the pile as much during winter, it’s a good idea to bulk it out in the fall. Twigs, dry leaves, and wood chips not only add valuable carbon to the pile but also help add structure and ‘fluff’ up the pile.
The twigs create air pockets within the compost that keep it well aerated even when you’re not turning the pile. The air pockets also help with insulation.
Move the pile
The positioning of the pile is an important consideration in the winter.
If you can move the pile, pick the sunniest but most sheltered part of your yard. Winds can be very chilly during the winter, and they can cool your pile down significantly. Strong winds can also dry your compost out.
But if the wind’s combined with rain, then you can have the opposite problem. The wind can direct the rain straight into your pile resulting in a soggy mess.
If you can’t move the pile or your yard isn’t very sheltered from the elements, consider building a protective structure around the pile.
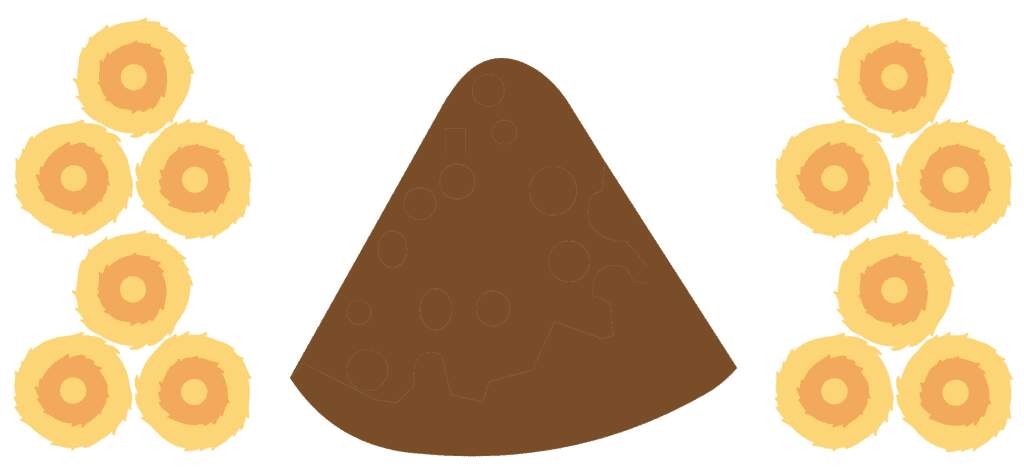
A common way of sheltering compost is to use walls made out of hay bales. You can use the hay bales during the summer as brown materials for your pile.
Covering the pile with a well-anchored tarp or old carpet also works well.
Another thing to think about is how easily accessible the pile will be during winter. To keep the pile going, you’ll want to add materials to it throughout winter. This will be a much easier job if there’s a clear route to the bin and the coverings you’ve used aren’t too cumbersome to remove.
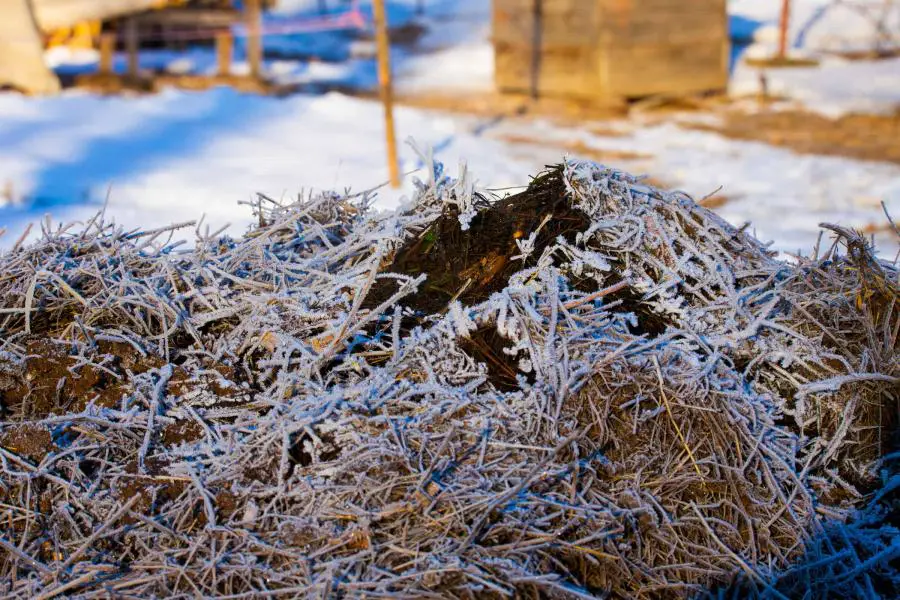
Insulate the pile
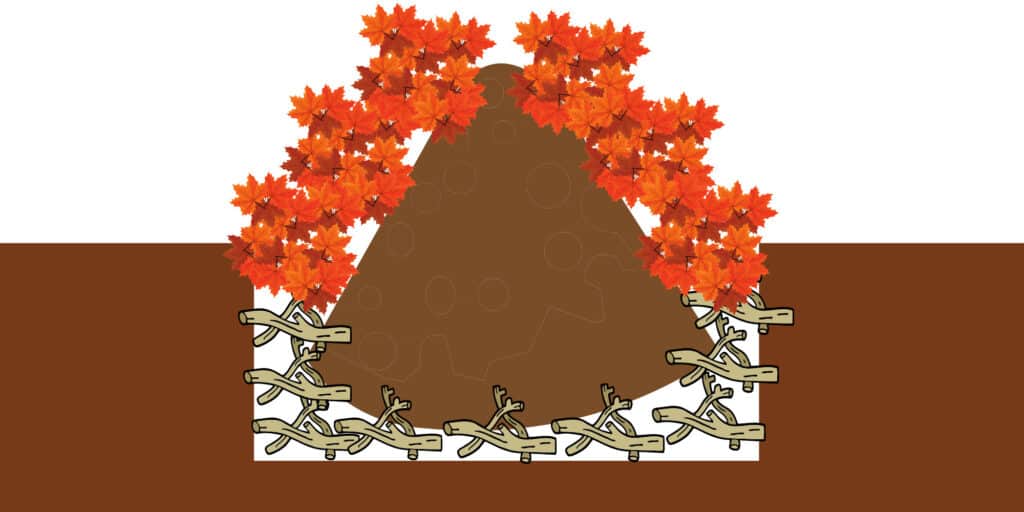
Insulating your compost pile is a sure-fire way to keep it warm over winter. Active compost generates its own heat, and insulation will help keep that heat in the pile.
If you have an open pile, surround it with autumn leaves, straw, or any other organic material you think might work. Old carpets and tarp also help. Use a dark-colored cover if you can. Dark colors are better able to absorb heat from the sun.
Another idea is to dig a pit in your yard and place the compost pile in the pit.
Lining the hole with a layer of twigs and leaves before you put the compost in will allow for adequate drainage.
The pit will insulate the bottom of the pile really well and reduce the number of leaves you need to cover the top of the pile.
Remember to leave a hole in the top of your insulation layer so it’s not too difficult to add new materials into the pile.
If you have a compost bin or a tumbler, covering it with a tarp will still work to insulate it. You could also consider moving a contained bin into a shed or a garage if you have one. A well-maintained bin shouldn’t smell or attract flies/pests. The thicker walls of a garage will go a long way to keeping the compost from freezing over.
Don’t worry too much if your compost freezes over a few times. The freezing and thawing process can actually help break down tough fibers within the compost.
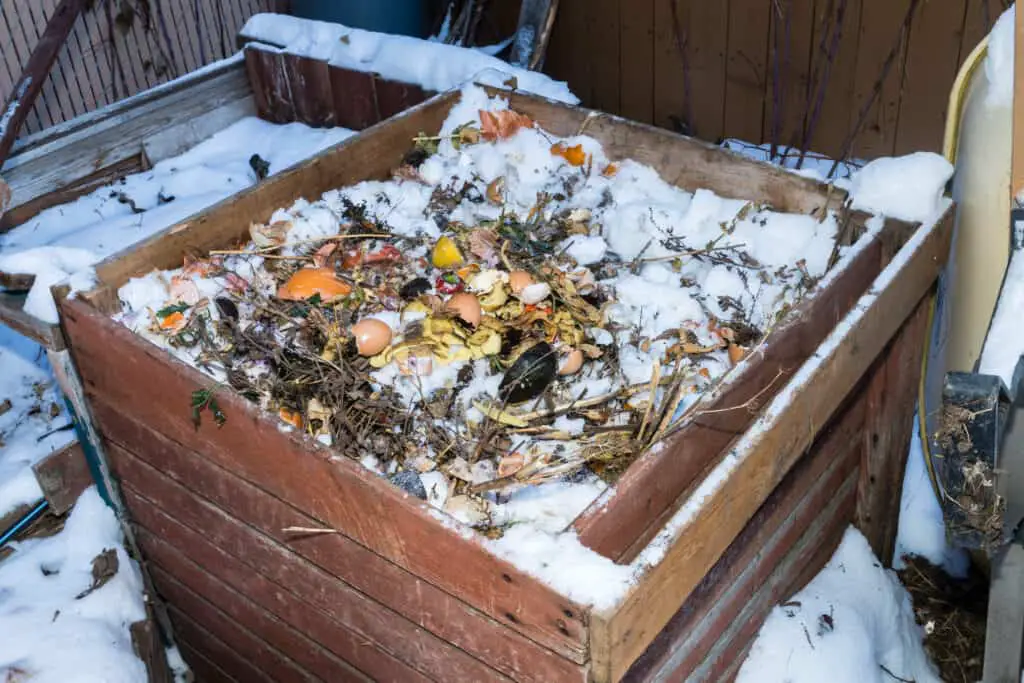
Snow also works surprisingly well as an insulator. Newly fallen snow is full of trapped air that can’t move. This prevents both cold air coming in from the outside, and heat escaping from the inside.
Should I turn my compost in the winter?
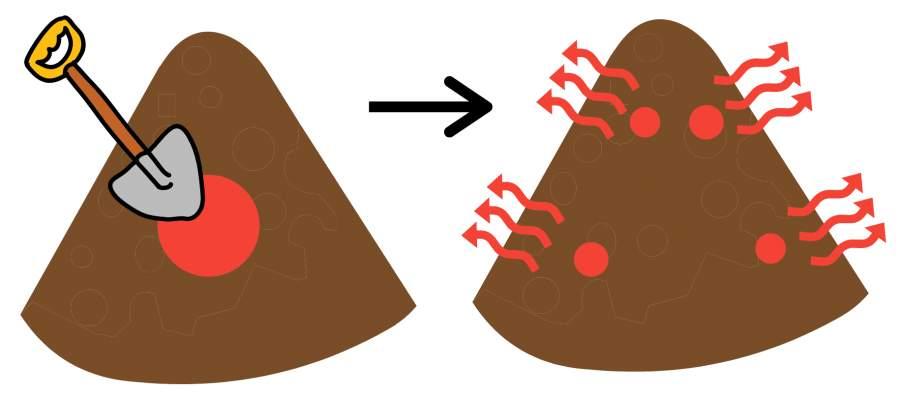
During spring it’s always a good idea to turn your compost, but during winter, turning isn’t recommended. Turning the compost moves heat from the middle of the pile to the outskirts where it will quickly escape, cooling down your pile. I suggest avoiding anything that risks heat escaping from your compost during the winter.
The only time I recommend turning your compost during winter is if it’s become overly wet or is starting to smell. In this situation, the compost probably won’t be hot enough to worry about losing heat through turning. Turning will aerate the compost and get rid of any excess moisture, which in turn will help the compost heat up again.
Adding in some extra brown materials will also help. Do your best to spread the brown materials evenly throughout the pile.
If you’re using an insulated compost tumbler, you can also turn this without worrying too much about heat escaping. However, it’s a good idea to check that the contents aren’t frozen before you turn it. Turning the tumbler while the contents are frozen can damage the tumbler.
How to activate compost in the winter?
Compost activators are materials that have a high concentration of nitrogen, an essential ingredient for hot composting. Piles that are made using lots of brown materials can suffer from a lack of nitrogen.
Compost inoculators contain high levels of beneficial microbes. Compost piles that aren’t in contact with the ground can sometimes lack the microbes they need to get started.
Activators and inoculators aren’t always needed but are good to have on hand, especially in the winter, when your compost is more likely to struggle. Adding a handful of activator or inoculant will help kickstart a sluggish pile.
You can use the same compost activators and inoculants you’d use in the summer in the winter. But in the winter, you might find it useful to add a bit more activator then normal. Or if your pile is really struggling, you can look for a more potent activator.
I’ve had great success in adding a healthy amount of bokashi bran to my pile when the temperature starts to drop. By adding the bran, it acts as the perfect inoculant and really helps the microbial activity to pick up.
Where possible, opt for a bokashi bran that’s either been double or triple fermented for maximum potency. I use this triple fermented, extra strength bran from bokashi living. Worth every penny.

Other suitable compost activators include blood meal, bone meal, grass clippings, urea, urine, coffee grounds, horse manure, or chicken droppings.
Crab, shrimp, or lobster waste are the most potent compost activators you can get, but they also tend to attract rodents.
Finished compost or garden soil are good natural inoculates.
When you add any new materials to your compost pile, also sprinkle in a handful of whatever activator you’re using until the activity levels pick up.
What to do with kitchen scraps in the winter
You can continue to compost your kitchen scraps during the winter. But it’s best to stockpile them and add the waste to your bin in big batches rather than every day as you might do during the growing season. That way, you disturb the pile less often, which helps it to retain heat.
It becomes extra important to chop up your scraps before adding them to your composter during the winter. The microbes in your compost digest smaller pieces much more readily. Cold weather makes the microbes lazy, so anything you can do to make their life easier will help them get the job done quicker.
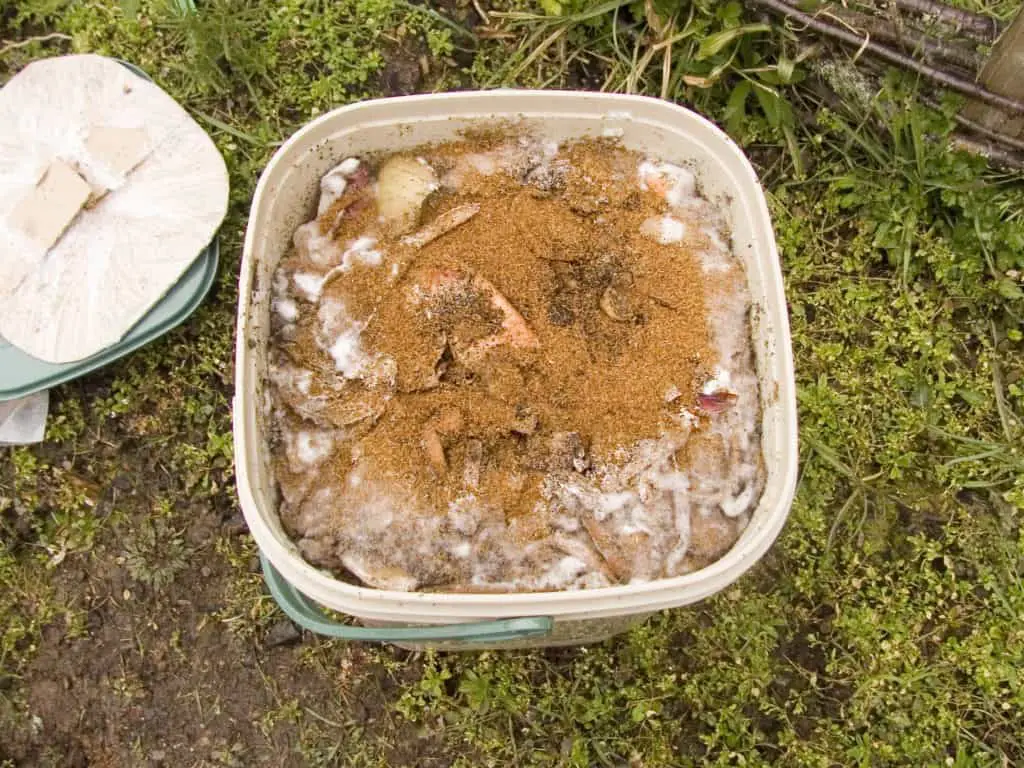
To stockpile your scraps, you can use a kitchen compost bin or a simple 5-gallon bucket.

This kitchen compost bin from utopia has a charcoal filter to keep any smells at bay, which means you can keep it inside and don’t have to worry about the food scraps freezing. However, it’s only 1.2 gallons, so having 2 or 3 would be ideal for a typical family.
A 5-gallon bucket is a good size, but there’s nothing to stop the food scraps from starting to smell, so it’s best to keep them outside. If the scraps freeze, you’ll have to bring them inside to thaw before adding them to your bin. Adding some brown material to the bucket along with the food scraps will go some way to preventing smells.
Some people like to store their food scraps in the freezer before adding them to their compost bin. However, I wouldn’t recommend this during winter for two reasons:
- Freezing the scraps means they won’t get a head start on decomposing. Partially decomposed food will disappear in compost much faster than fresh waste.
- You’ll have to thaw the scraps before putting them in your compost bin. Adding a big clump of freezing cold food scraps will cool your pile down very quickly. And it will struggle to heat up again.
Winter composting methods
There are a few different ways you can go about composting in the winter. You can use the more traditional methods of open piles or contained compost bins. Or chose to go a little less conventional and try trench composting or indoor composting.
Method 1: trench composting
One popular winter composting method is trench composting. Trench composting is excellent in winter because it’s extremely low maintenance, and you don’t have to tend to it in the cold (when you’d rather be inside).
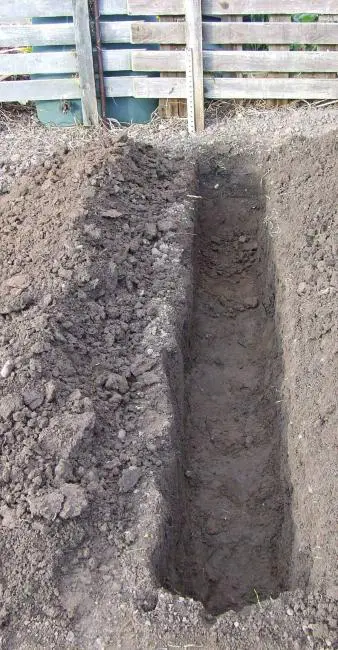
To trench compost:
- While the ground is still soft enough, dig some trenches around your yard a few inches deep. Place the trenches where you think your yard could do with a bit of a boost
- Line the trenches with a layer of brown materials like twigs and leaves. This helps aeration and drainage
- Add in the food scraps (pre-chopped) and mix them with some soil. The soil acts as an activator and gets the composting process started
- Cover the scraps with a thick layer of soil
- Leave the scraps to decompose over winter and dig them up in the spring
The scraps are protected from the cold weather by the ground, and the microbes and worms from the soil will happily work away on them all winter. The nutrients from the scraps will leech into the surrounding soil as they break down.
To protect the trenches from rodents, consider covering them with netting. Freshly dug earth is attractive to rodents. If they discover the food scraps, you could have a problem.
Come spring, if you don’t have ready to use compost in your trench, you can add what’s left to a traditional compost bin where it should turn into finished compost within a few weeks.
A potential issue with this method is that as the ground becomes harder, it becomes impossible to dig more trenches. And if you have a small yard you can quickly run out of room for more trenches. It’s a good idea to combine this method with one of the other methods listed here unless you have quite a large yard.
Method 2: compost tumblers / continuous bins
Enclosed bins are good options for winter composting because the bin protects the compost from the wind and rain. You can opt for a tumbler or a stationary bin.

Tumblers are designed to turn and raised off the ground, so they’re easy to keep warm. You can cover the tumbler with a tarp to provide extra protection.
With tumblers, although it’s easy to turn the compost, you need to be careful to make sure the materials aren’t frozen. Attempting to turn frozen compost can damage the turning mechanisms within the bin – and will do nothing to aerate the compost. Wait until the compost has thawed and then rotate it to reactivate it.

Stationary bins, otherwise known as continuous compost bins, provide a steady stream of compost from the bottom of the bin. You put new materials in the top, it decomposes, and them comes out the bottom as finished compost.
They’re suitable for winter because as long as they’re well protected, there’s no reason the composting should stop. Plenty of continuous composters also come with built-in aeration systems, so you don’t need to turn the compost.
Some stationary bins don’t have a bottom, so the compost is in contact with the ground. This is fine during the summer, but during winter the ground surface can become extremely cold, and the compost can benefit from being raised.
To raise the bin you can use a layer of branches or a wooden pallet stuffed with straw. A few layers of cardboard can work well too. Think of it as a sleeping mat for the compost.
If you live somewhere where it gets really cold during the winter then it’s worth considering buying a bin with built-in insulation.
Jora has an excellent range of insulated compost bins. The tumblers are made of galvanized steel and have a 2.5-inch thick layer of polystyrene on the inside. There’s no chance of heat escaping this composter!
For more information, check out my in-depth reviews of the best insulated composters for cold climates.
Method 3: indoor composting
If you really hate the idea of going outside in the winter or don’t want your compost production rate to slow down, indoor composting can be a great solution.
There are two methods of indoor composting that work well throughout winter: vermicomposting and bokashi.
Vermicomposting in winter
Vermicomposting is composting with worms, red wiggler worms to be specific. The worms quickly devour the food scraps you give them and turn them into high-quality compost. Since the worms work odorlessly, you can keep a worm bin inside.
The worms will continue to work all year round as long as the temperature of their bin stays between 55 and 80 degrees Fahrenheit. I have lots more information on worm composting in my complete guide to composting with worms. If worm composting sounds like something you’d be interested in trying, make sure to check out my recommendation for the best worm bin.
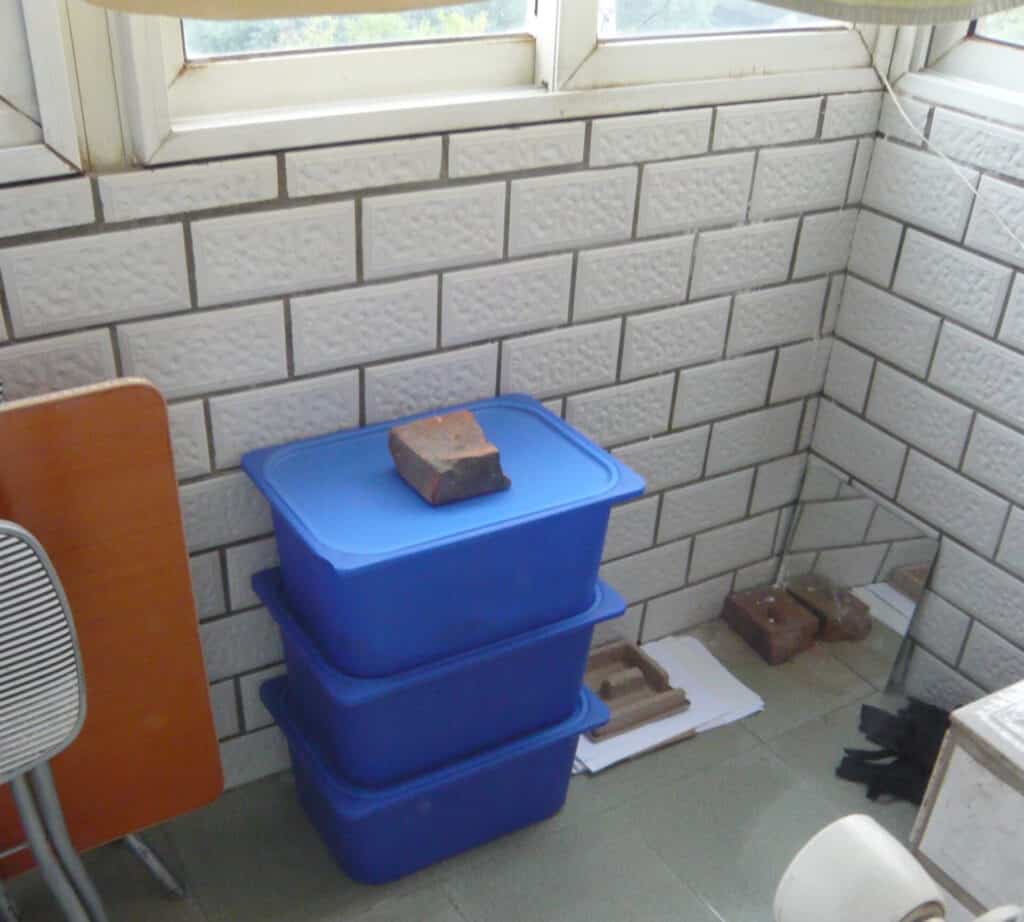
Bokashi in winter
Bokashi is the process of fermenting your food scraps before you compost them. It’s done in an airtight bucket indoors. Since the bucket is airtight, there’s no smells to worry about.
The fermentation process takes around two weeks. What you get out isn’t finished compost, but it will decompose a lot faster than fresh food scraps. You can either bury the bokashi in pre-dug trenches, or you can add it to a pre-existing compost pile.
You can learn more about bokashi in my complete guide to bokashi composting. I’ve also reviewed the best bokashi bins if you’re planning on giving this method a shot.
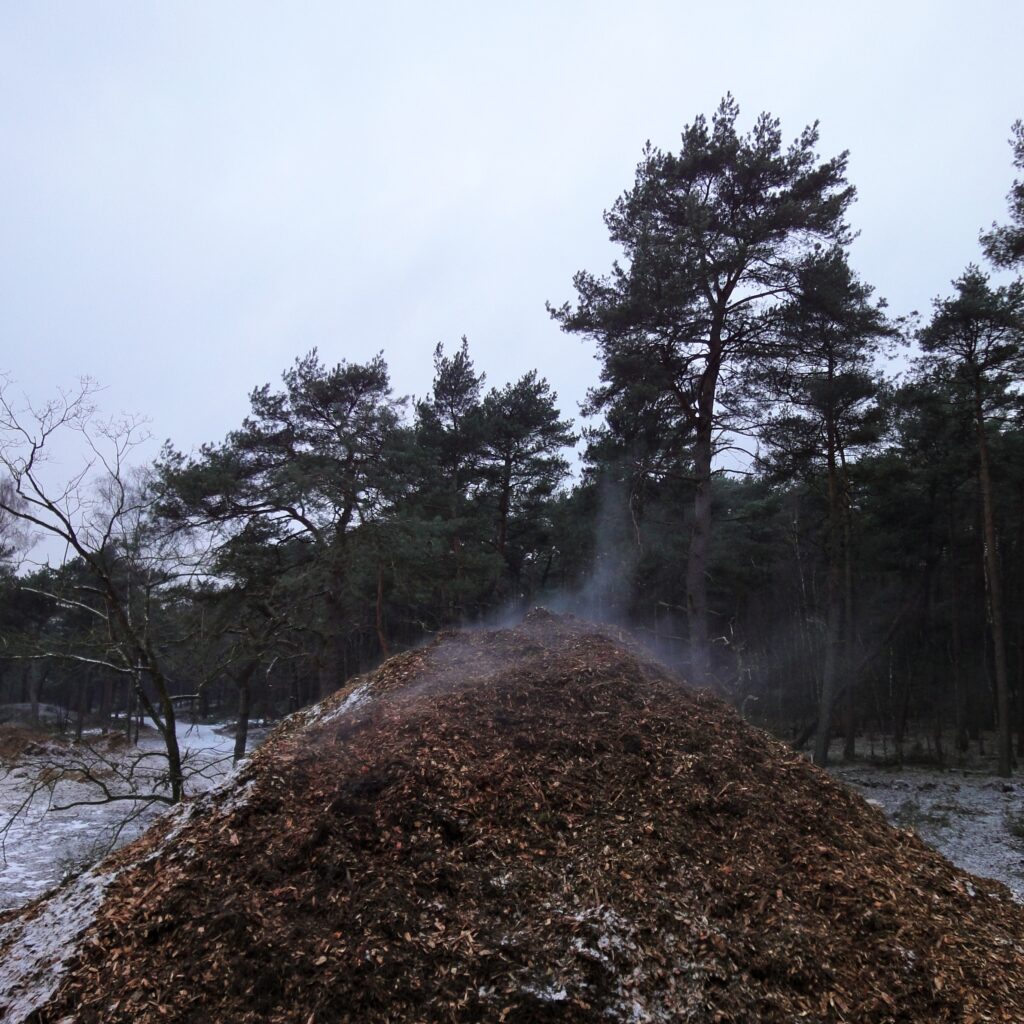
Method 4: open piles
Open piles are the least practical method of winter composting, but you can still make it work. You need to make sure your pile is big enough to stop it from completely freezing, and you also need to provide adequate insulation.
Your pile should ideally be at least 3 x 3 x 3 feet, plus whatever form of insulation you chose. That way, there’s enough outside material to protect the middle of the pile from the cold weather.
Can you start a compost pile in the winter?
The ideal time to start a compost pile is in the spring. But you can start one in winter, it’ll just take a little longer to get going.
When you start a compost pile in the winter it’s best to make sure the bin is completely full from the get-go. Any spare room in the bin is a chance for heat to escape.
Adding a compost activator such as garden soil, or this compost starter from Jobe’s organics, will give your compost a head start and make sure it heats up quickly.

Sprinkle a handful of activator every few inches as you’re building the pile to make it’s evenly spread out. I like Jobe’s product because I can be sure I’m adding plenty of beneficial microbes to my compost.
Another tip is to use more brown stuff than you would in the spring. Brown materials like dry leaves and paper soak up excess moisture and mean the compost is less likely to freeze, which would halt composting altogether.
They also help with insulation and give the pile structure. Insulation keeps the heat in, and good structure helps aerate the pile without the need for turning.
How should I store compost over the winter?
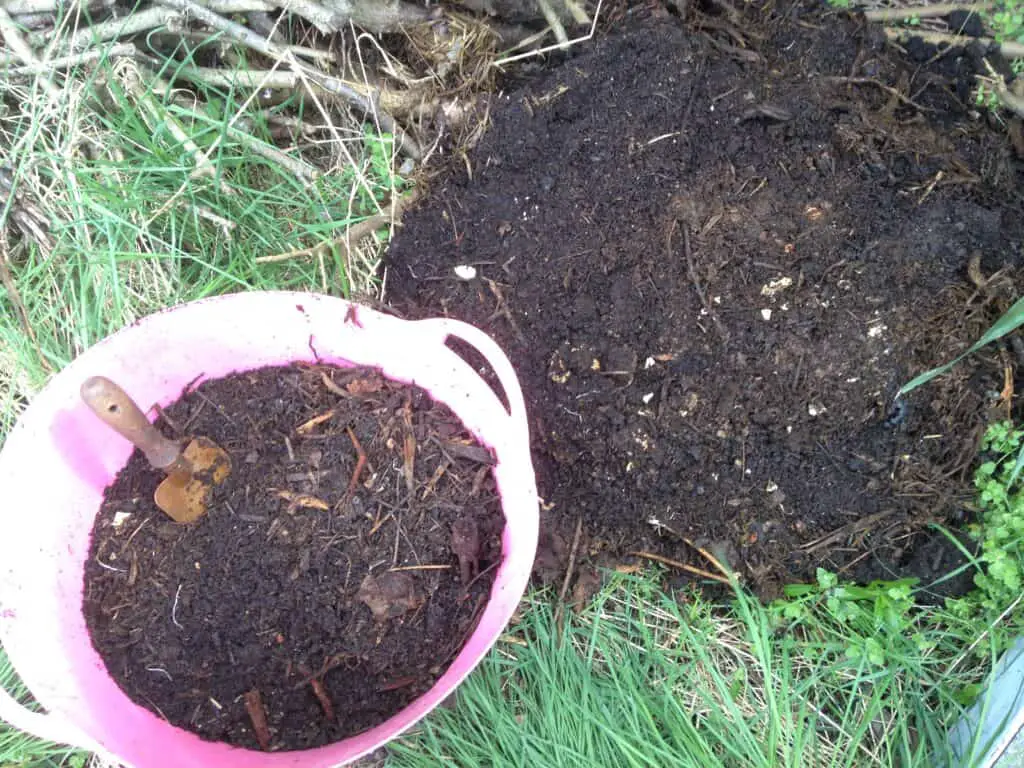
One winter composting tip is to empty your bin of any finished compost in the fall to make room for new materials. But what do you do with that compost once you’ve harvested it?
Storing the compost over winter gives it extra time to cure. Compost is never truly finished. There will always be some sort of microbial changes going on. The longer compost is left to cure, the more diverse the microbial population will become, and the higher quality your compost will be.
If you have too much compost to store long term, mix it in with your vegetable beds or flower gardens before the ground is too hard. You can leave it to cure in the ground.
To store compost over winter, place it either in an empty compost bin or in a makeshift container such as a 5-gallon bucket, or an old trash can. You can even just use any spare bags you have lying around. Canvas bags are best because they’re breathable.
You want to avoid ground contact because this can cause the compost to soak up ground-water and become wet. You also want to ensure good airflow to keep the compost well aerated.
Storing the compost in a container prevents any issues with groundwater. Drilling or poking holes in whatever container you pick will ensure adequate airflow. If you can find something that has a secure lid, this will enable you to turn the compost quickly.
If there are any big clumps in your compost, don’t worry about breaking them up. Freezing and thawing cycles over winter will naturally break up any clumps leaving you with soft and spongey hummus come spring.
What happens to winter compost in the spring?
Once spring hits, you don’t need to do anything to your winter compost to get it started again. As the temperatures rise, the compost will come back to life on its own.
Even if your pile has been frozen most of the winter, the microbes don’t die, they just become dormant. Dormant microbes are ready to wake up as soon as they warm up.
One thing to watch out for as the compost warms are the moisture levels within the bin. If the compost has frozen, it can become overly wet as it thaws out. Add in some extra browns and turn the compost if you notice this happening.